How to fix blurry pictures on iPhone
Smudgy-looking shots can be an artistic choice on a fun night out, but when your whole vacation to Venice quite literally looks like one big blur because the sky was severely overcast and every other shot is as unclear as the water in the canals, it’s time to take some action.
Read on to learn how to prevent and possibly correct subpar sharpness of your images, as well as quickly wipe all the blurry photos taking up space in your iPhone’s photo library.
Why the iPhone is blurring photos
Photos taken in low light and without a tripod will come out blurry on pretty much any camera, so if you are taking a pic of your driver’s license to sign up for internet banking and the text ends up being blurry and unreadable, an immediate fix is walking up to the window or turning on more lights.
But what if you can’t retake the photo — can a blurry image be fixed? The truth is, only to a degree.
When it comes to fixing blur in your iPhone shots, your best bet is trying to increase the sharpness of your image in the built-in Photos app or exporting the images to a full-fledged image editor like Luminar Neo and using its AI-powered blur reduction tools.
But let’s start at the beginning. To prevent blurry pics from happening altogether (because who wants to spend two hours on a Saturday afternoon removing or editing up all those blurry pictures cluttering up their iCloud?), address the main reasons for a blurry photo:
- Taken in low light and/or at high ISO setting
- Camera moved during capture
- Object moved during capture
- Camera lens needs a wipe or has been damaged
- Photo subject is out of focus
- Software issues
Note that when you use camera zoom instead of getting closer to your subject, your photos will be more prone to blur due to higher sensitivity to micro camera movements when zooming.
To avoid software problems getting in the way of a quality shot, keep your iPhone software up to date as well as any third-party photography apps you use.
Use a tripod for low light pictures, photograph your subjects in good lighting conditions, especially if they are moving, and keep your iPhone cameras’ lenses clean
How to view all blurry pictures on iPhone
Unless we double check each shot after taking it, spotting ready-for-deletion blurry photos on your iPhone can take a while. While extensive blur is visible even in the thumbnails, smaller instances are less noticeable. You have to open and inspect each image, often on a bigger screen of a desktop device.
This makes it difficult to catch blurry images in time to fix them or, for less important shots, to delete them and prevent them from cluttering your phone.
One tool to help quickly spot blurry pictures on iPhone is CleanMy®Phone. Just run a photo library scan and have your blurry photos rounded up!
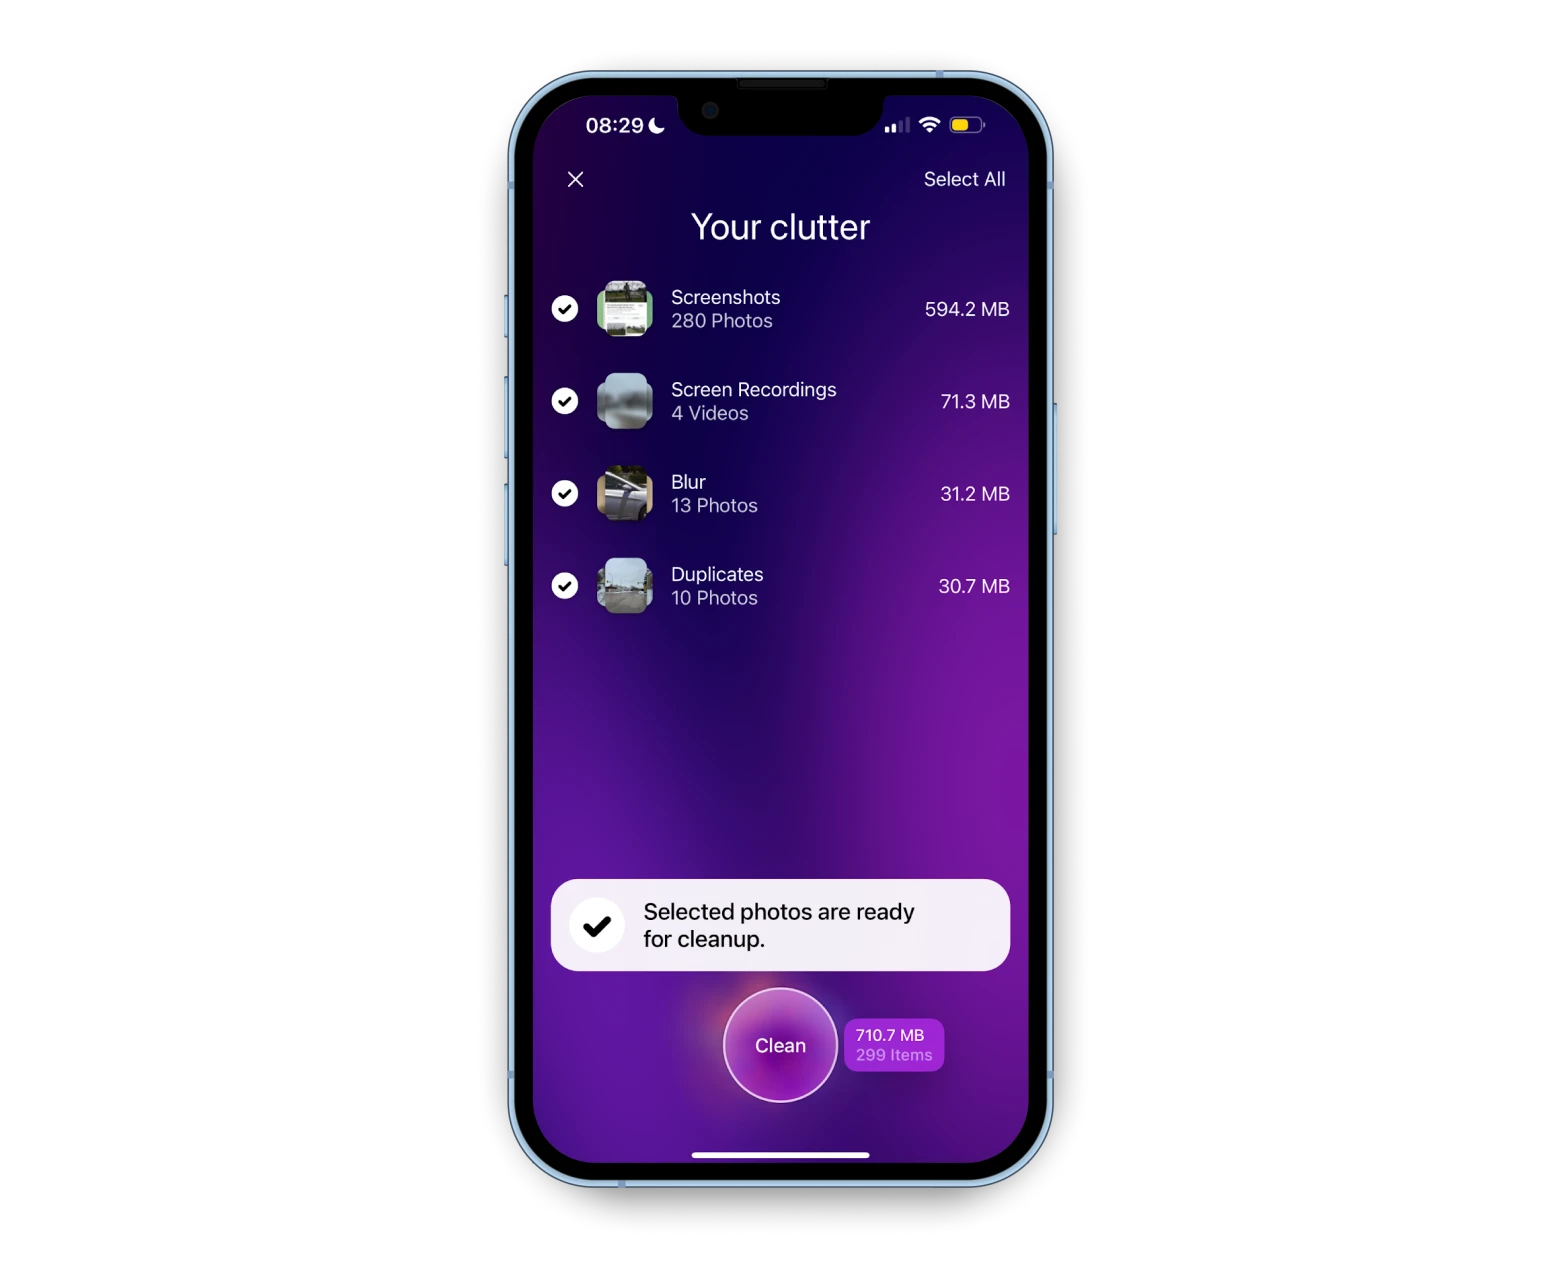
Go through the selected photos and pick which you want to keep and which delete. Then tap Clean and free up precious space on your iPhone.
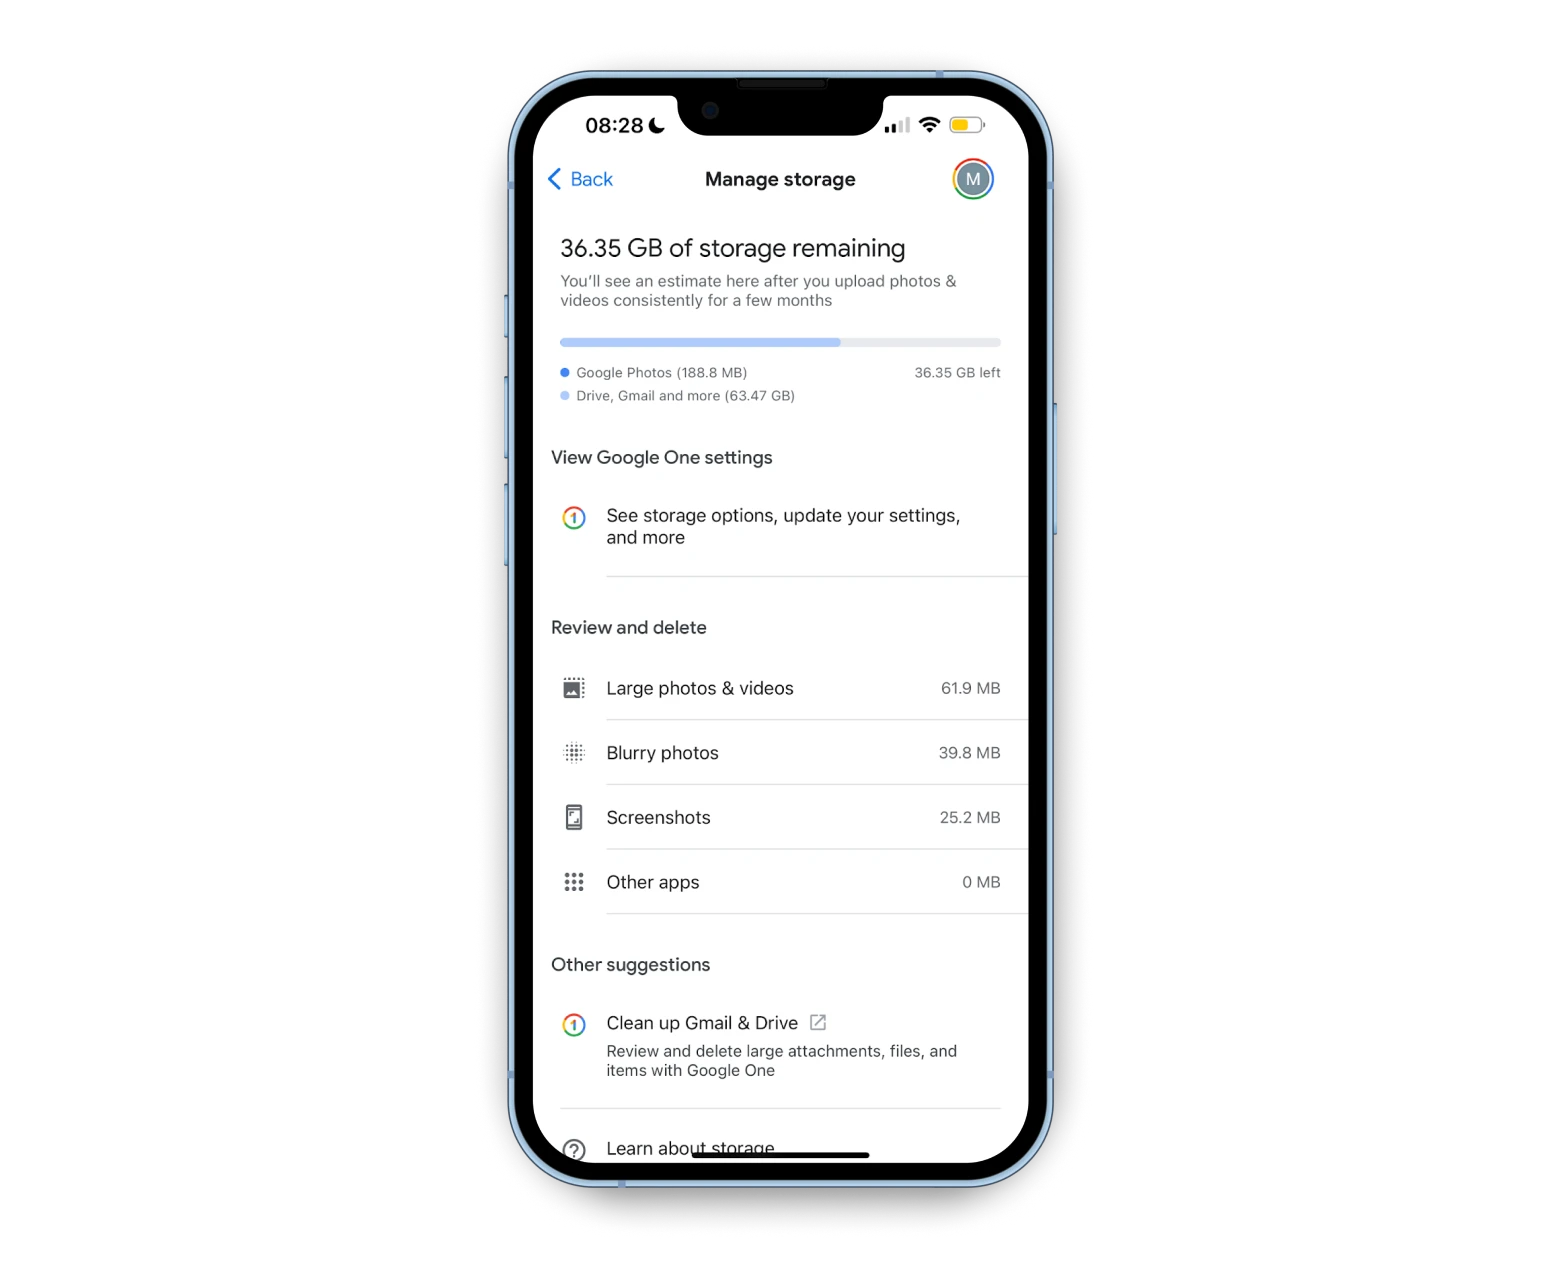
If you are using Google Photos, you can use the app to spot blurry pictures too. Open the app, tap your profile pic, then Manage storage, and find your blurry photos under Review and delete. This method requires your iPhone photos to be backed up to your Google cloud storage though. The sync can be easily done in the Google Photos app as long as you have enough storage there.
How to fix blurry pictures on iPhone
When it comes to editing out the blur from photos, more often than not it is just not possible to restore your photo to perfect sharpness, but when things are just slightly out of focus, you can use your iPhone’s built-in editor or the AI-supported photo editing tools in Luminar Neo to help polish up your photo.
To increase the sharpness of your image using the Photos app on your iPhone, open your photo, tap Edit in to top right corner, then scroll through the editing tools in round icons right under your image — the first one is Auto, then Exposure, and after several scrolls, you’ll get to Sharpness.
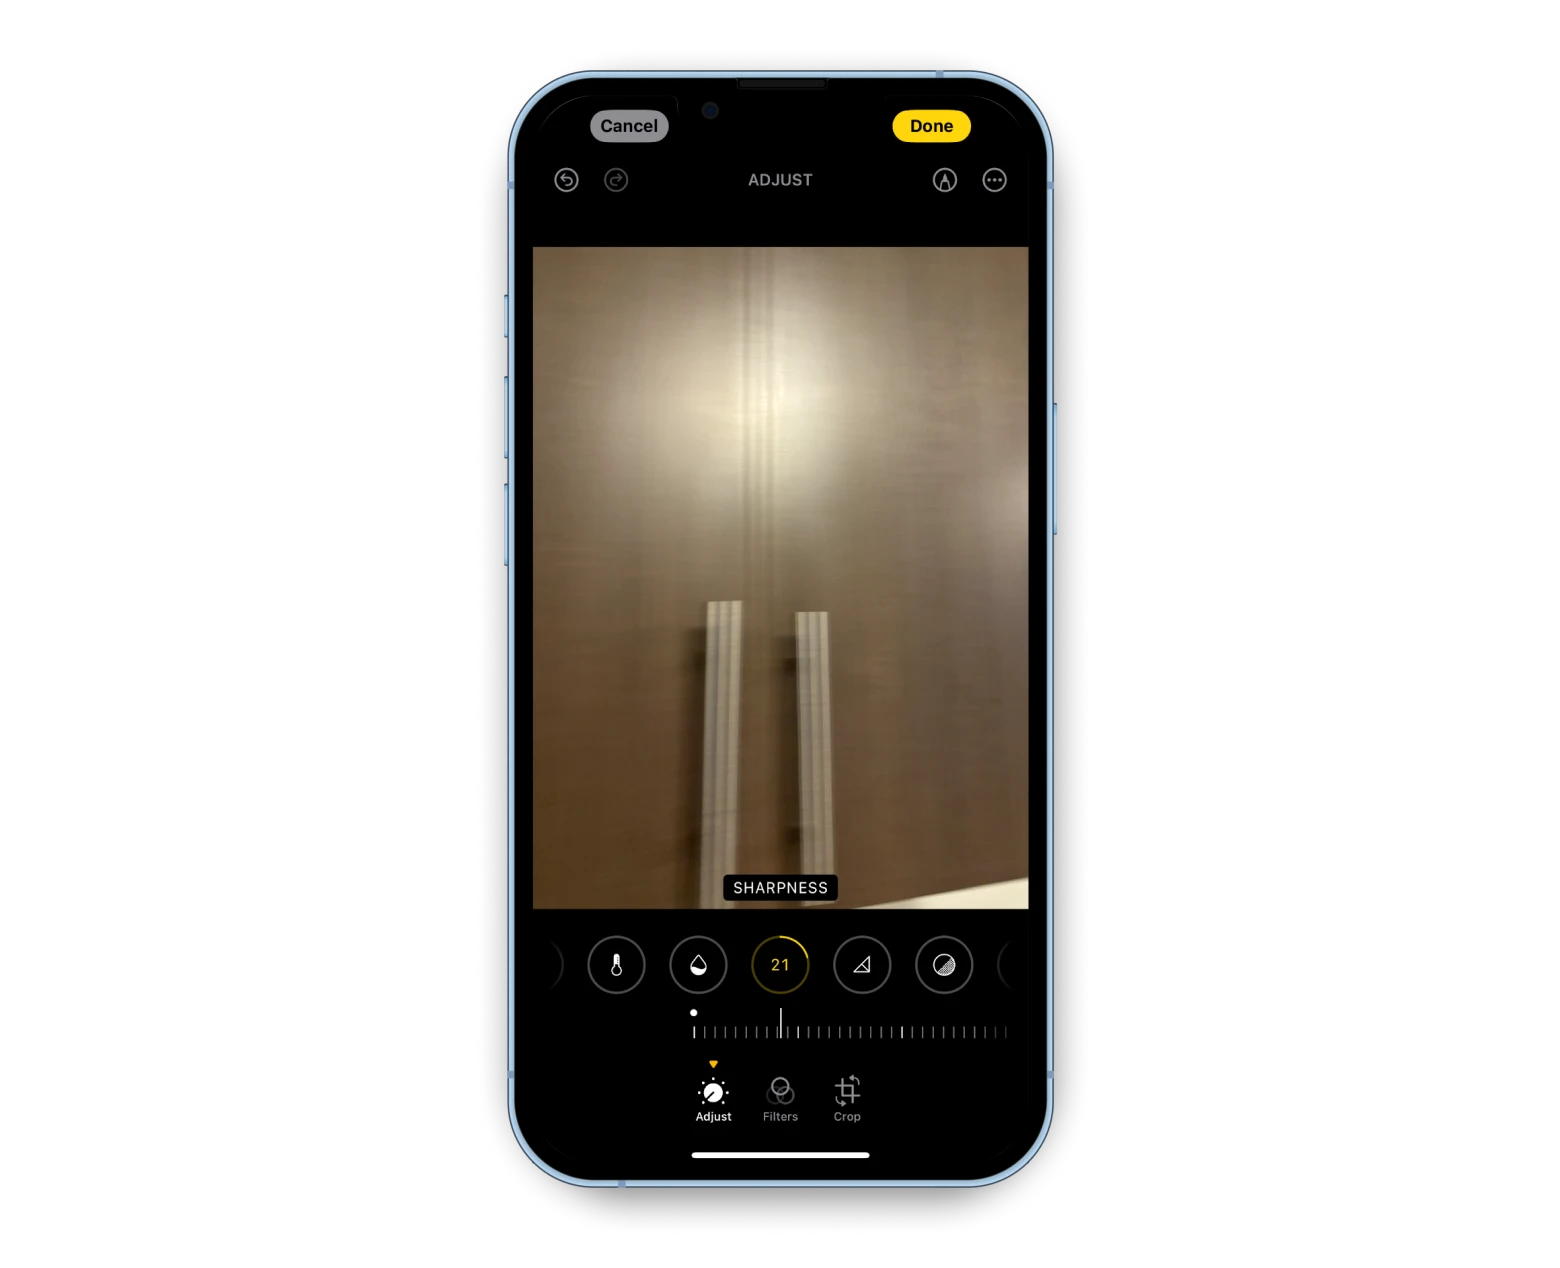
Tap and pull on the sharpness scale underneath the Sharpness icon to adjust to your desired level. Tap Done when you are happy with the result.
You can also decrease blur and remove image noise with Luminar Neo. This is a Mac app, so you will have to transfer your blurred photo onto desktop before proceeding, but if you want to give your photo a comprehensive makeover, this powerful image editor is the way to go.
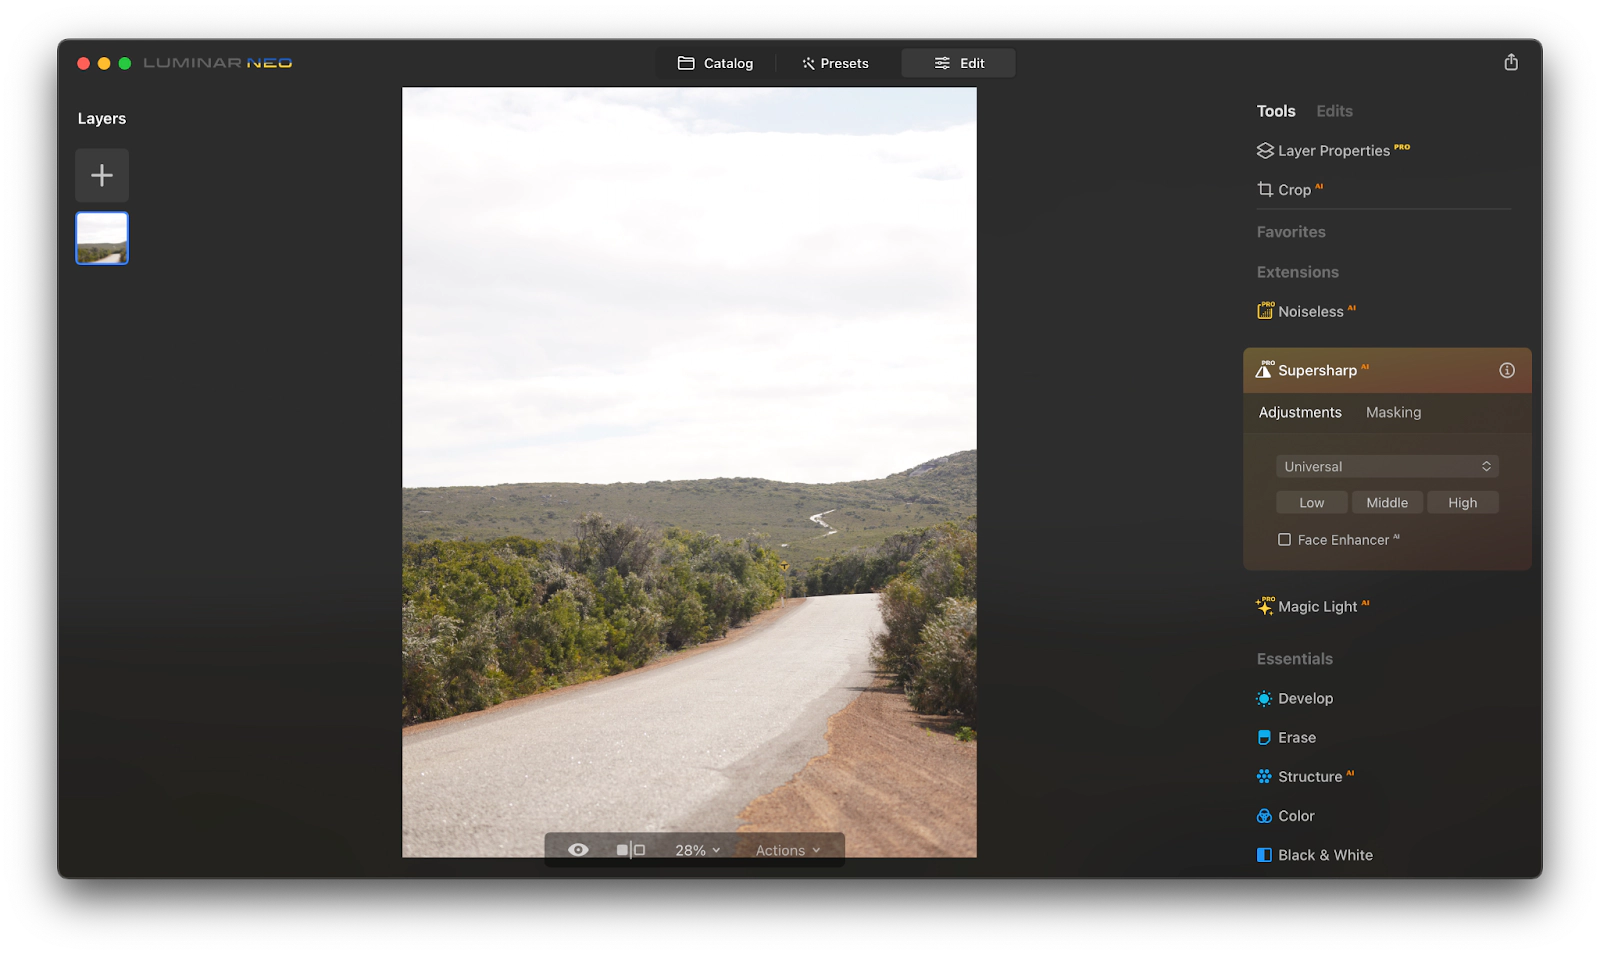
Use Supersharp AI Extension in Luminar Neo to adjust your image brightness and try Noiseless AI Extension to reduce noise in low light photos.
Luminar Neo also allows you to stack up to 100 photos with different depth of field to get evenly focused images when shooting at low apertures. This tool can help make the final picture less blurry.
Remove blurry pictures like a pro
Because no one wants to deal with a photo gallery full of unfocused shots, it’s important to know how to clear up those blurry photos in your Photos app. As it’s not always possible to make a blurry picture clearer, you want to make sure you are taking a photo in good lighting conditions and keeping your phone steady (unless you are going for that dreamy artistic blur, of course).
If you do end up with a few fails, use your iPhone’s built-in sharpness tool in the Photos app to try and fix your blurry photos. Another way to deblur a photo to a degree is using a Supersharp AI Extension in Luminar Neo — blurry shots of pets or birds can be improved if you are prepared to spend some time photo editing on your Mac.
And if you want to just get rid of your blurry collection and get more space for new memories, you can use CleanMy®Phone or Google Photos to spot and easily remove blurred images from your iPhone.
All the apps mentioned in the article — CleanMy®Phone, Luminar Neo, Dropshare, and CloudMounter — are available under a single subscription on Setapp, an app platform that provides tools for your daily tasks. You can try these apps and dozens more on Setapp for free with its 7-day trial, so sign up now and wipe those blurries away!


