How to change scroll direction on a Mac
If you've recently transitioned from Windows to Mac and find the scroll direction of your Mac mouse or trackpad bothersome, don't worry. In this article, you'll learn how to change scroll direction on Mac.
Why you might need to change direction of scroll on Mac
By default, macOS has set the scrolling direction for both mice and trackpads to "natural." This means that you can move the contents of a window in the same direction as your fingers. This behavior is similar to touchscreens, where you swipe up to scroll down.
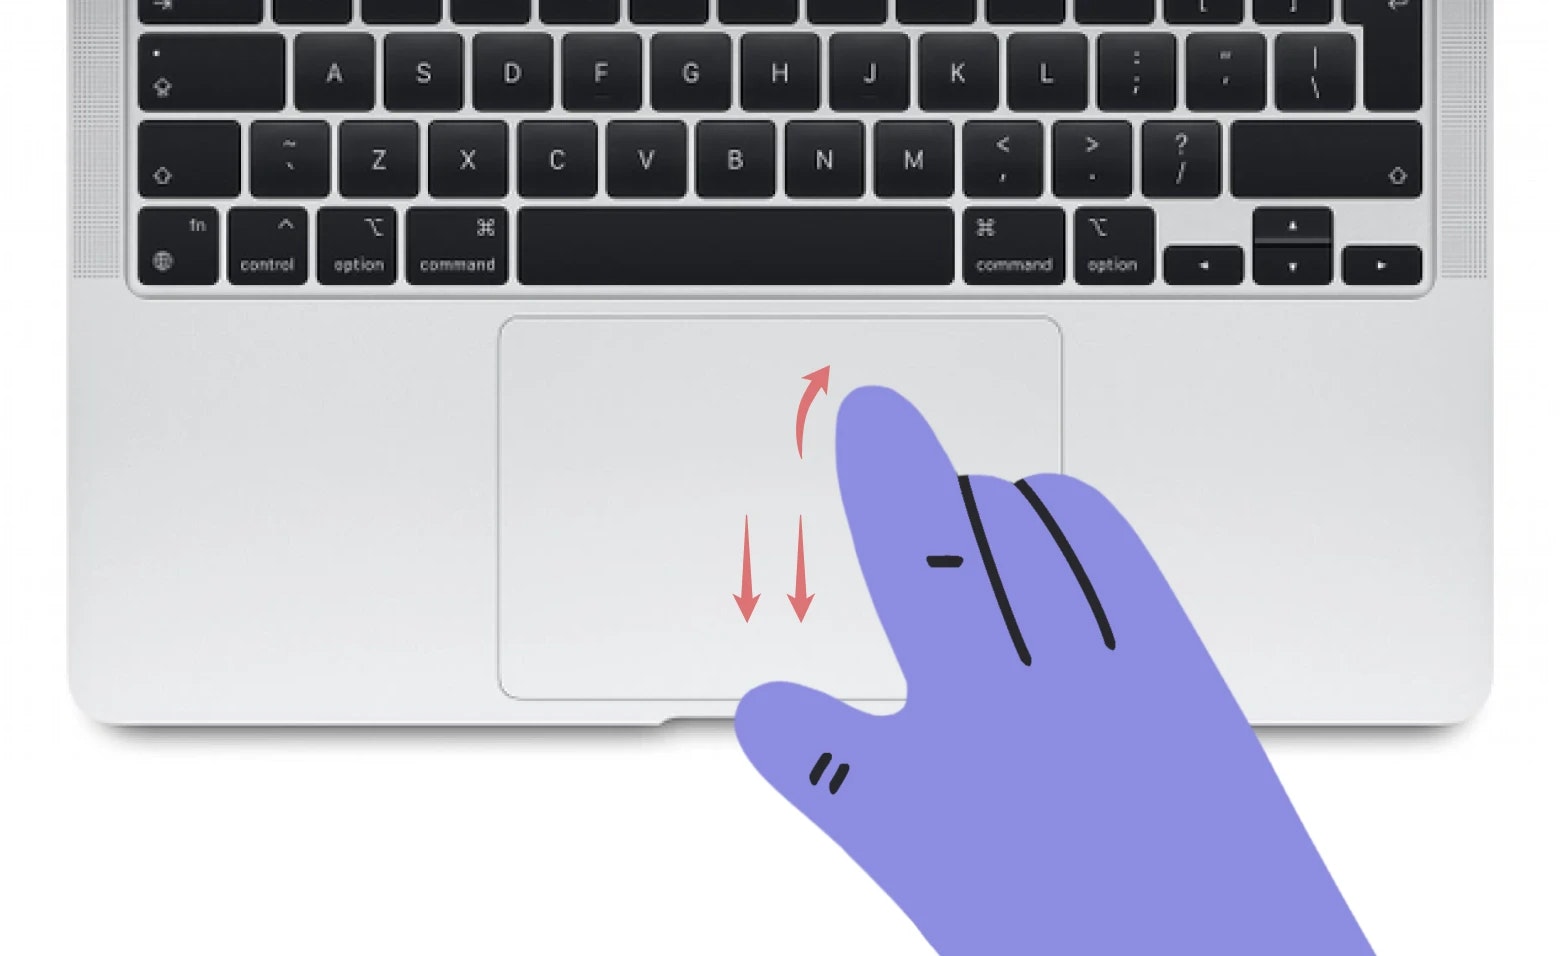
If you are accustomed to using Windows, this default setting on a Mac might be frustrating for you when using a mouse or trackpad. Let us show you how to switch scrolling direction on Mac. It's easy!
How to change scroll direction on Mac
So, here is a step-by-step guide on how to change the Mac scrolling direction for the mouse:
- On your Mac, click the Apple logo at the top left corner of the screen.
- Choose System Settings.
- Next, click Mouse from the left sidebar.
- Then, choose the Point & Click option.
- Turn on/off the toggle next to Natural Scrolling to change the scrolling direction of the mouse.
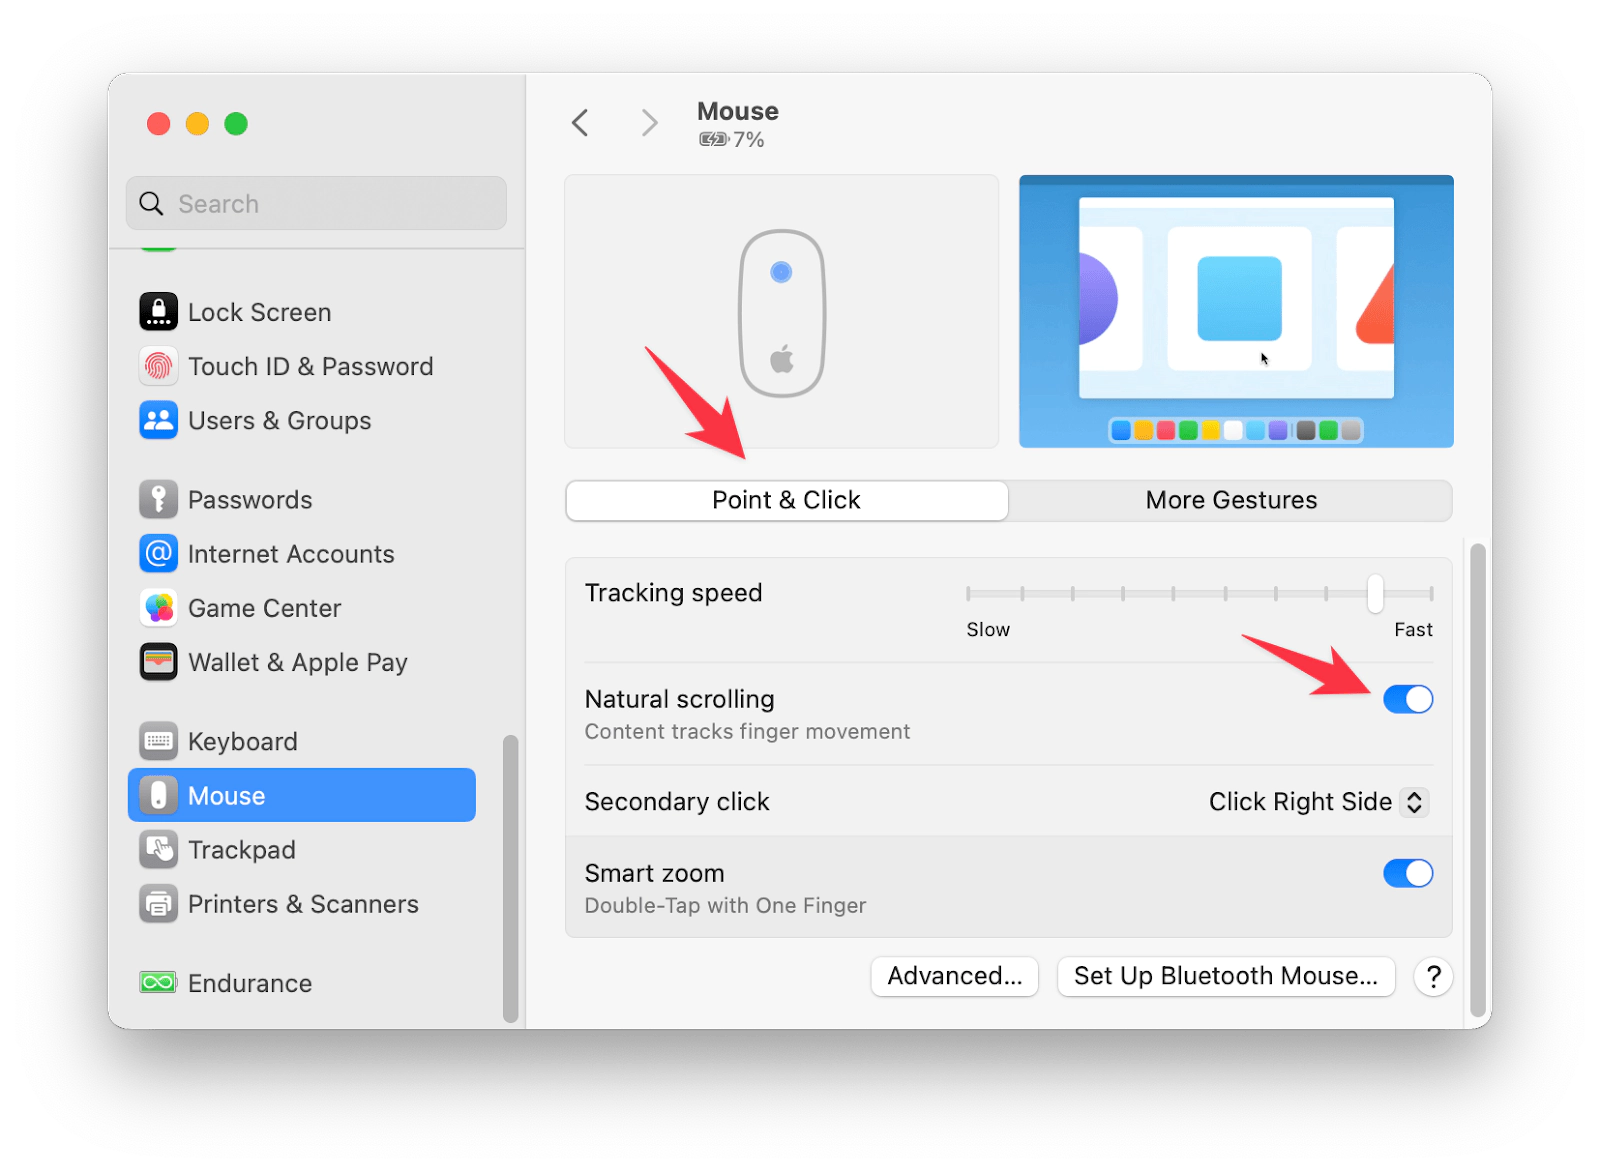
Enabled Natural Scrolling means that you can move the contents of a window in the same direction as your fingers.
That's how to change the mouse scroll direction on a Mac.
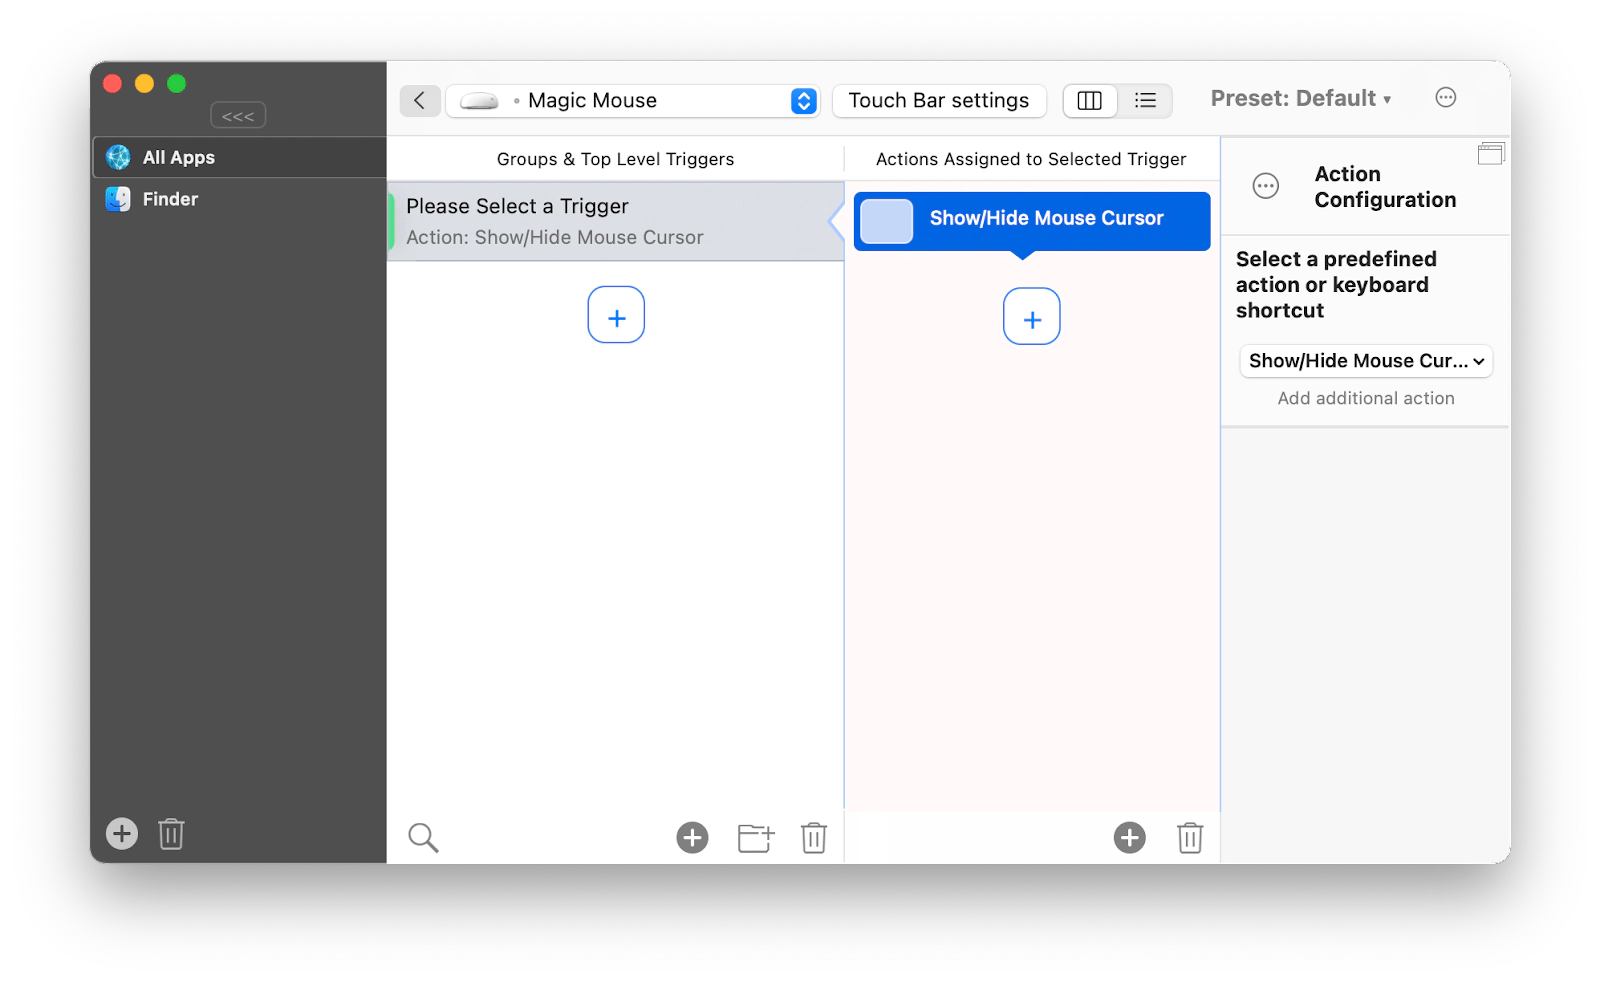
BetterTouchTool comes with no pre-configured options, so you're free to create shortcuts that give you optimal functionality on a variety of devices:
- Create your own key sequences, movements, and gestures to trigger actions with your Trackpad, mouse, keyboard, Touch Bar, as well as iPhone and even Apple Remote
- Appoint specific apps for every shortcut you record
- Create new functional buttons and edit the existing setup of the Touch Bar
- Copy multiple items with an integrated clipboard manager.
Change scrolling speed on Mac
If you think the scrolling part of the Magic Mouse and Magic Trackpad is a little slow, you will be happy to know that you can make it faster. Whenever you're scrolling through a page, you won't have to do any extra work to speed up the scrolling once you make these changes. Interestingly, you can even make the scrolling speed slower if you want. Let's see how.
- With the Magic Mouse or Trackpad connected to your Mac, go to the Apple menu > System Settings.
- Click Accessibility from the left sidebar.
- Then, click Pointer Control.
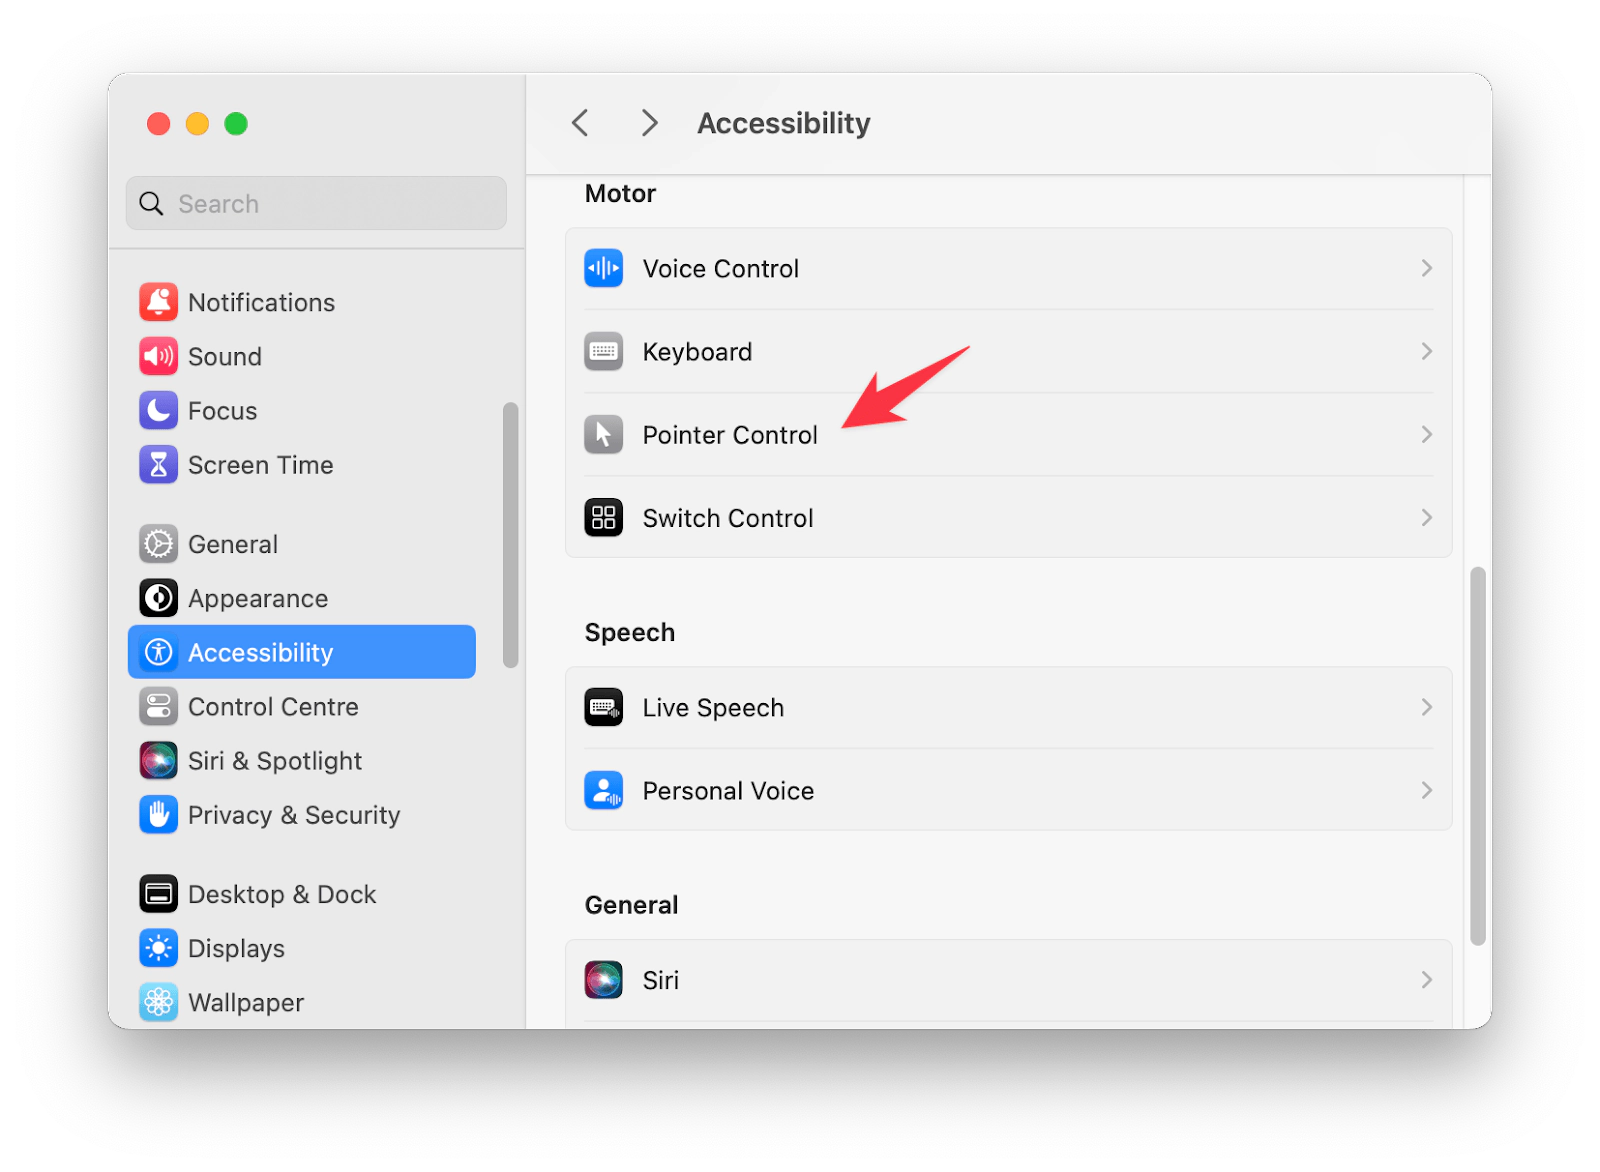
- Whether you have a Magic Mouse or Magic Trackpad connected, click on either Trackpad options or Mouse options.
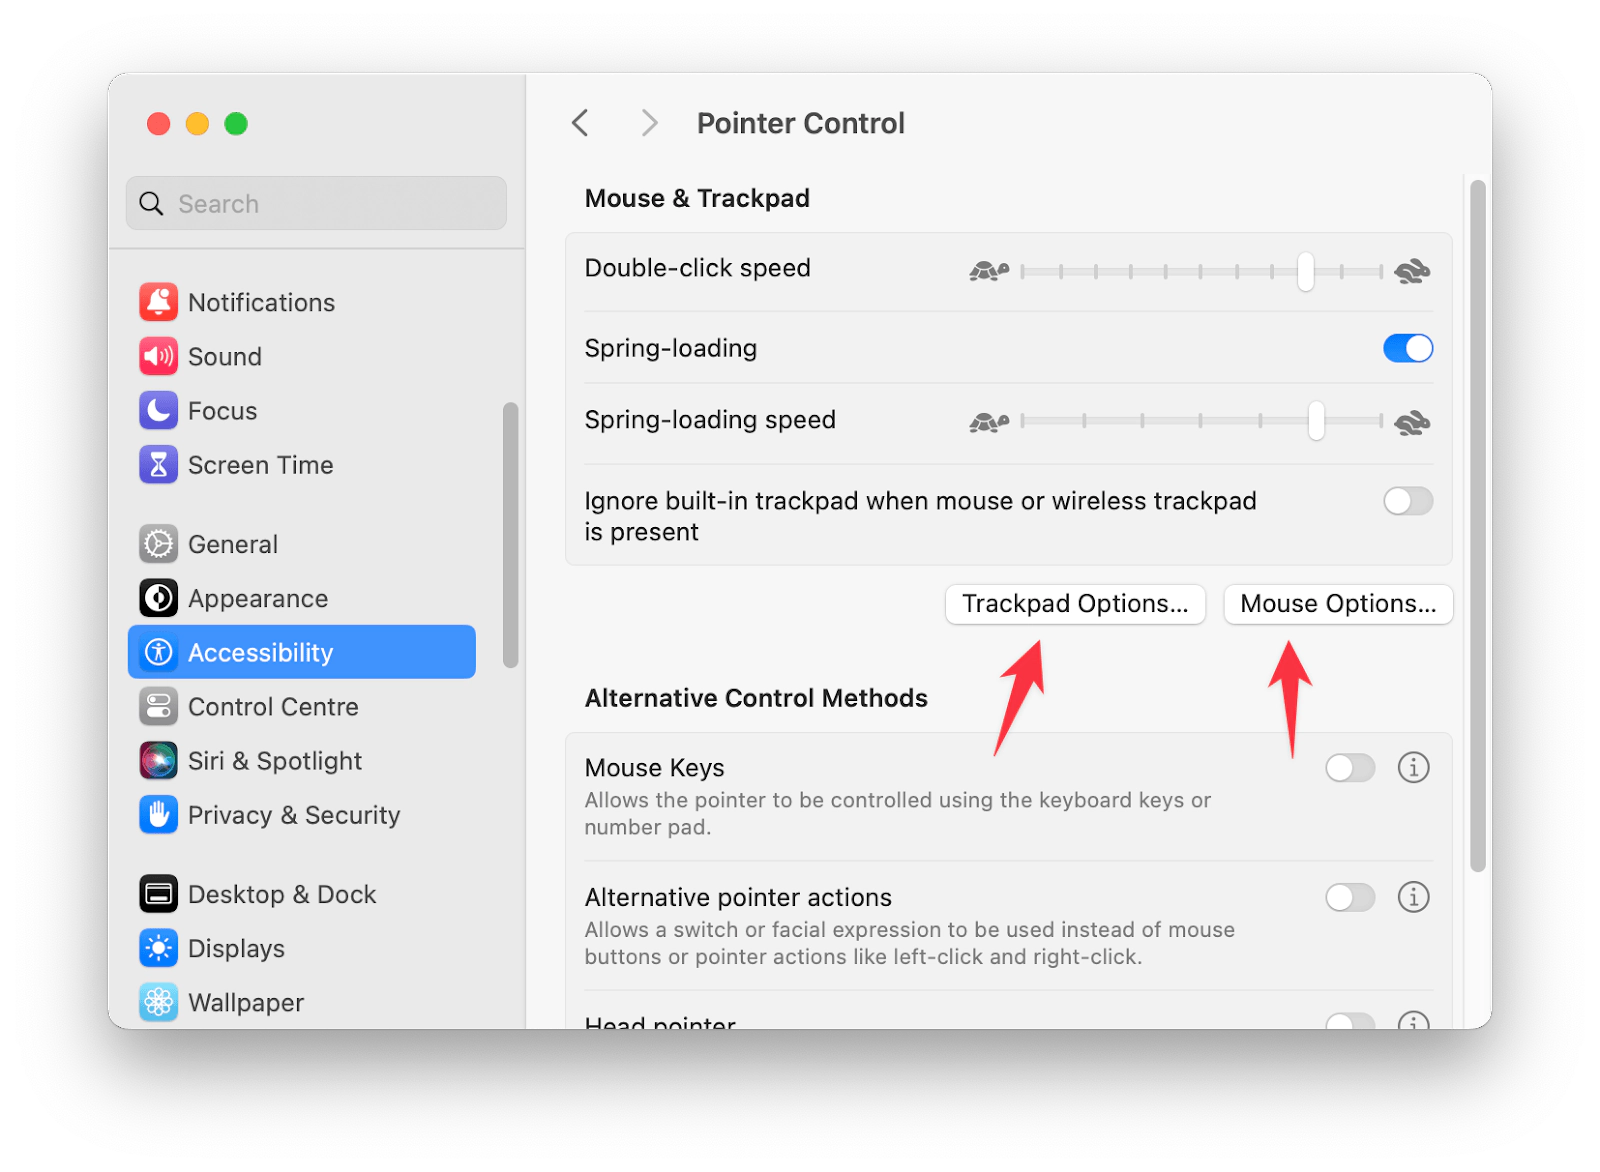
- Adjust the scrolling speed from here, then close the window. You can also make adjustments and test the changes on the fly, so you can find the scrolling speed that works best for you.
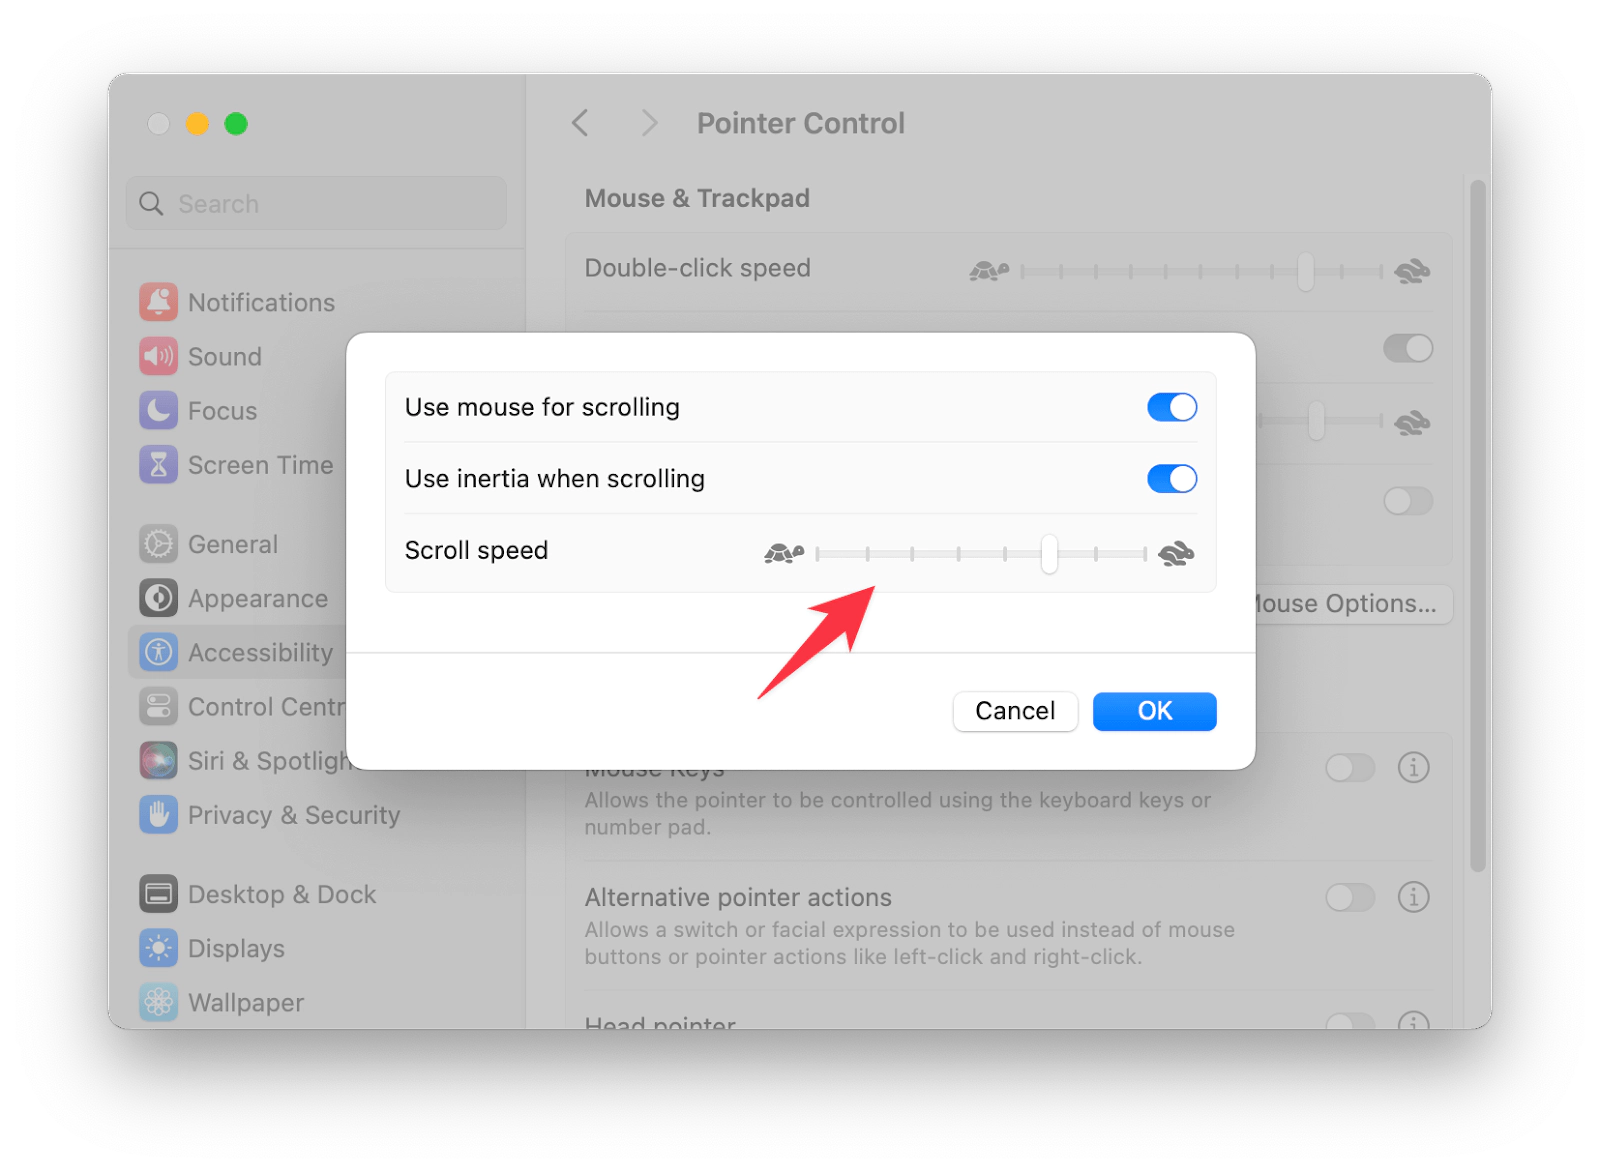
How to disable inertia scrolling on your Mac
With inertia scrolling, scrolling continues even after you lift your finger from the mouse/trackpad until it gradually stops. In other words, scrolling gets a little momentum after you lift your finger off the mouse or trackpad until it slowly stops.
Although inertia scrolling is an excellent feature on the Mac, some people find it frustrating to use.
So, here is how to disable inertia scrolling on a Mac:
- With the Magic Mouse or Trackpad connected to your Mac, go to the Apple menu > System Settings.
- Click Accessibility from the left sidebar.
- Then, click Pointer Control.
- Whether you have a Magic Mouse or Magic Trackpad connected, click on either Trackpad options or Mouse options.
- Turn off the toggle next to Use inertia when scrolling.
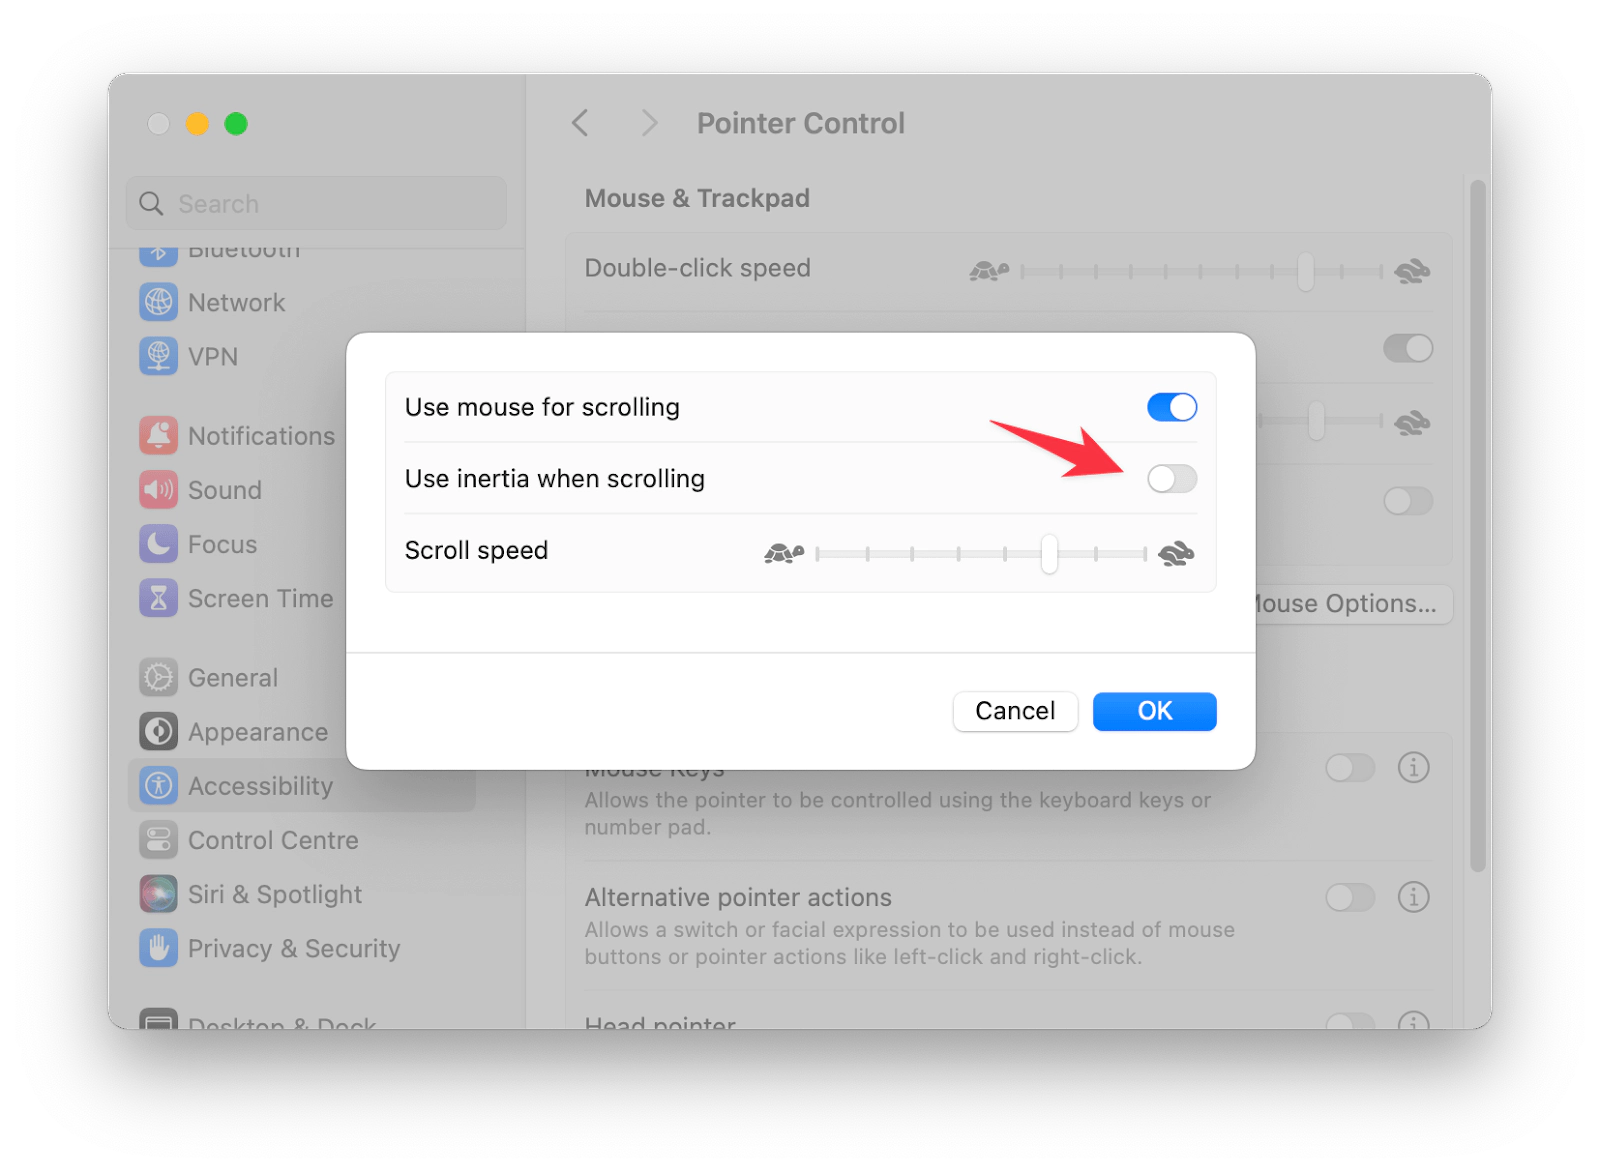
Whenever you want to use inertia scrolling, turn on the toggle next to Use inertia when scrolling.
Change scroll direction on Mac using Automator
If you like to experiment with various interesting things on your Mac, then this option is for you. By following the below steps, you can change scroll direction:
- Open Automator. To do this: Press Command + Space to open Spotlight Search, type Automator and press Enter.
- Next, use Command + N or File > New to create a new document.
- Choose Application as the document type.
- Then, add the Run AppleScript action to the workflow.
- Enter one of the AppleScripts at the bottom of this answer (see notes below the instruction). Don't worry if running it at this point gives you permissions errors.
- Use Command + S or File > Save As... to save as Reverse Scrolling with File Format Application in your Applications directory.
- Now, you can close the Automator document.
- Next, go to the Apple menu > System Settings > Security & Privacy > Privacy > Accessibility and add the Reverse Scrolling app (remember, it's in your Applications folder) in the pane that says Allow the apps below to control your computer.
- Then, go back to Automator and create a new document.
- This time, choose Quick Action as the document type. This will allow you to add the action to the Services submenu in every application.
- Configure the workflow so that it requires no input. The top of the document edit pane should say Workflow receives no input in any application.
- Add the Launch Application action to the workflow.
- In the application chooser dropdown, select Other....
- In the finder window that pops up, navigate to your Applications directory and choose the Reverse Scrolling app.
- Use Command + S or File > Save As... to save as Reverse Scrolling. It's fine to use the same name as before.
- Next, go to the Apple menu > System Settings > Keyboard > Shortcuts > Services and click Reverse Scrolling (under the General subsection in the right checkbox pane) and Add Shortcut.
- Press the key combination you want to use. Note that you'll have to avoid collisions with any other key combination, so choose carefully.
If you have followed all of these instructions correctly, you should now have a Reverse Scrolling menu item in the Services menu of each application, with your keyboard shortcut listed next to it.
Test it by scrolling, watching the scroll direction, pressing the keyboard shortcut, and repeating the scroll test. The scrolling should be reversed without any error pop-ups or system permission requests.
AppleScript for macOS Ventura:
on run {input, parameters}
    do shell script "open x-apple.systempreferences:com.apple.Trackpad-Settings.extension"
    delay 1.0
    tell application "System Events"
        tell process "System Settings"
            click radio button 2 of tab group 1 of group 1 of group 2 of splitter group 1 of group 1 of window 1
            click checkbox "Natural scrolling" of group 1 of scroll area 1 of group 1 of group 2 of splitter group 1 of group 1 of window 1
            tell application "System Settings" to quit
        end tell
    end tell

    return input
end run
AppleScript for macOS Monterey:
on run {input, parameters}
    tell application "System Preferences"
        reveal anchor "trackpadTab" of pane id "com.apple.preference.trackpad"
    end tell

    tell application "System Events" to tell process "System Preferences"
        click checkbox 1 of tab group 1 of window 0
    end tell

    quit application "System Preferences"

    return input
end run
How to switch scrolling direction on Mac using Terminal
You can also change the scrolling direction using Terminal, the command line interface that allows users to make specific requests to their operating system.
Here is how to change scroll direction on Mac using Terminal:
- Open the Terminal app. To do this: Press Command + Space to open Spotlight Search, type Terminal and press Enter.
- Copy the following command syntax:
defaults write -g com.apple.swipescrolldirection -boolean NO to switch to traditional scrolling, or
defaults write -g com.apple.swipescrolldirection -boolean YES to switch to natural scrolling. - Paste the command syntax into Terminal and press Enter.
- Reboot your Mac for the changes to take effect.
How to change the Trackpad scroll direction on Mac
If you prefer using Trackpad, here is how to change Trackpad scroll direction on a Mac:
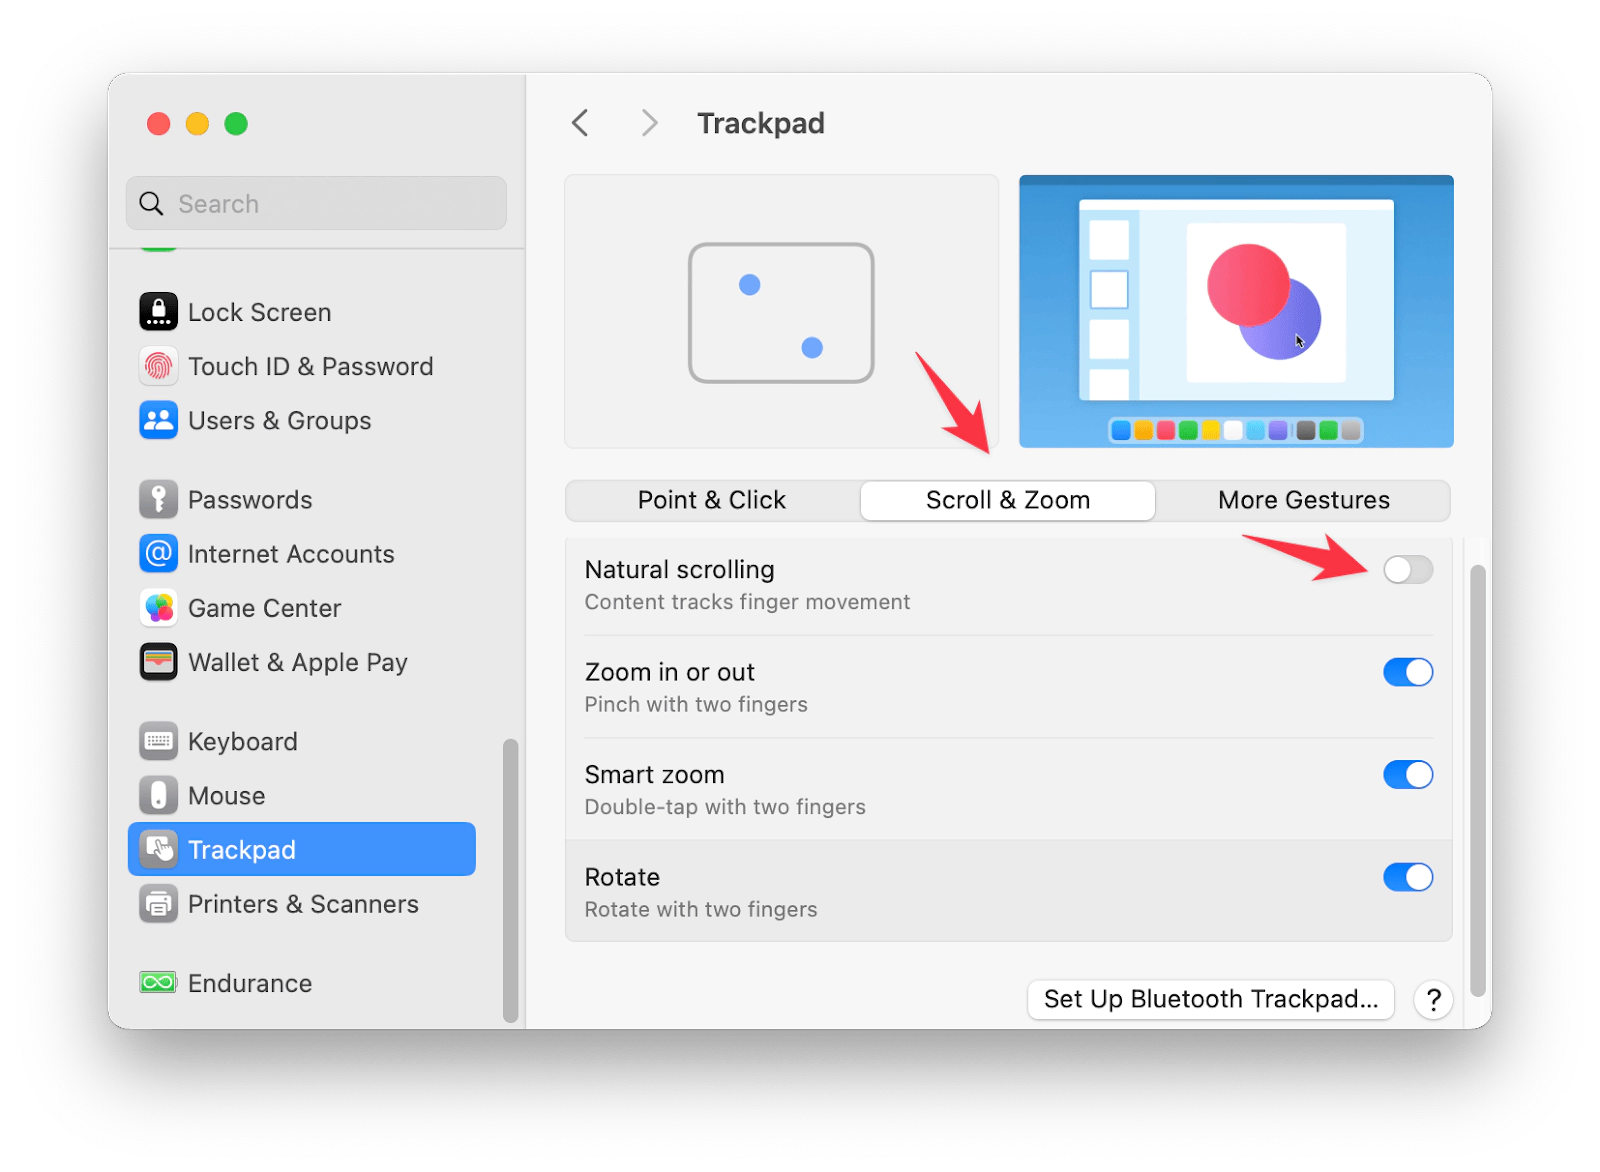
- Go to the Apple menu > System Settings.
- Click Trackpad from the left sidebar.
- Next, choose Scroll & Zoom.
- Turn on/off the toggle next to Natural Scrolling to reverse the scrolling direction of the Trackpad.
If you've ever felt like you could do more with the Trackpad, you're right. For example, there are only a few ways to use the Trackpad to navigate between application windows. How about closing windows? Or hiding them? When you install Swish, you get those right out of the box: pinch to quit or close app windows, swipe down to minimize a window, double-tap to hide all of an app's windows, and more.
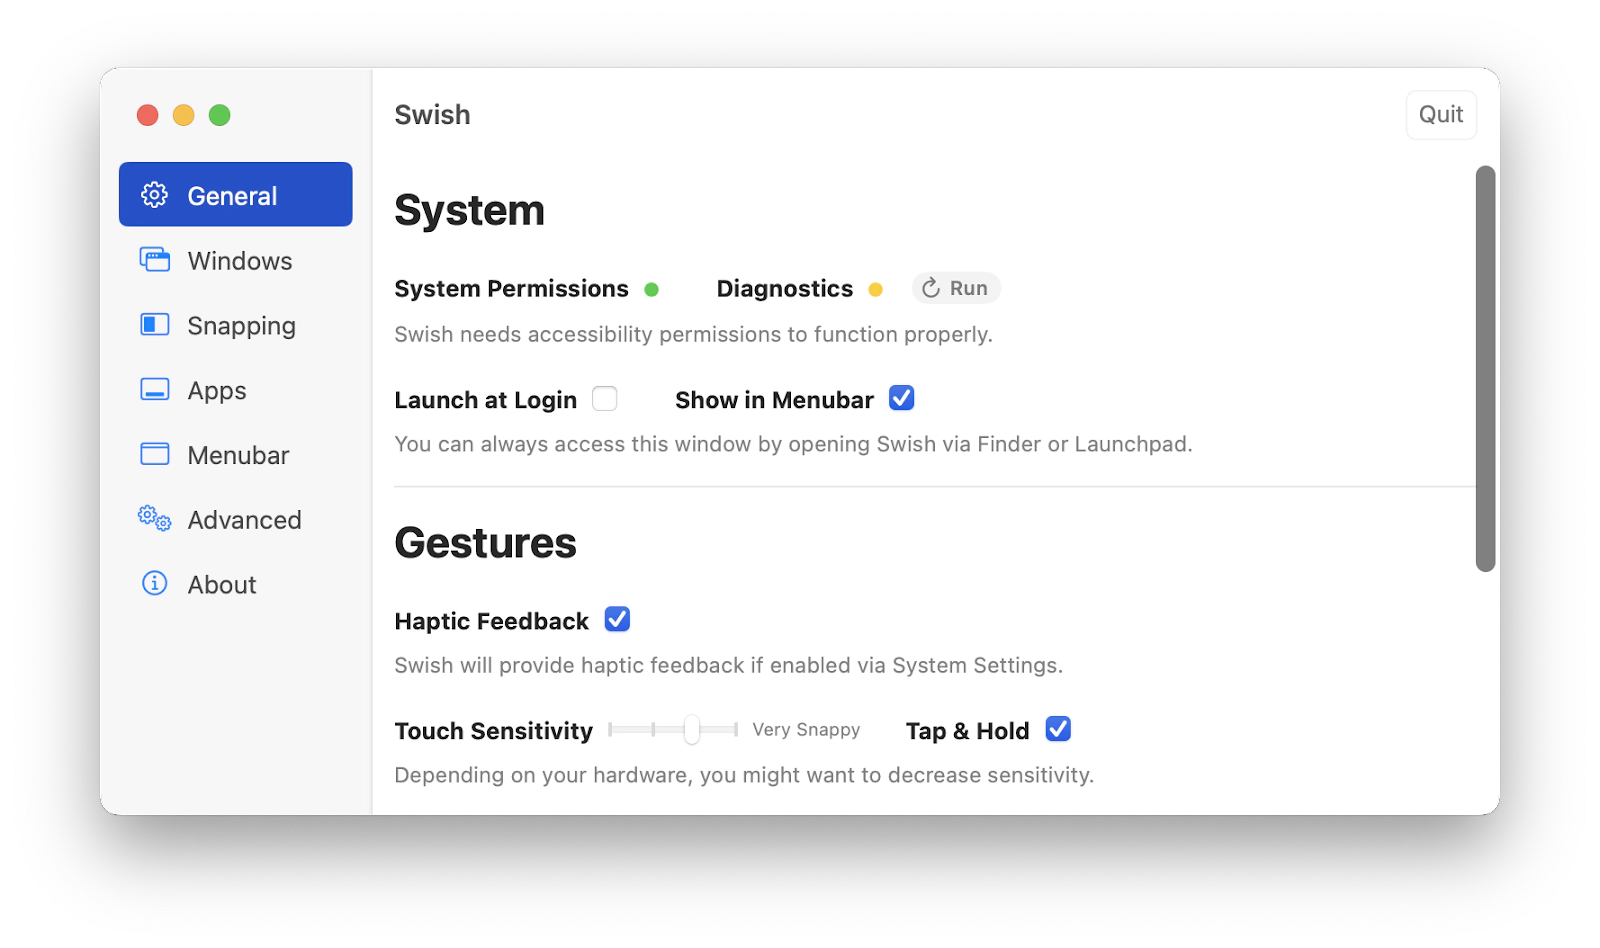
In Swish settings, click each gesture you want to use and they will become available right away.
MacBook scrolling slow?
We've already shown you how to make scrolling on your Mac mouse and trackpad faster. See section Change scrolling speed on Mac. However, these instructions don't always resolve the issue. Here is why.
MacBook scrolling can sometimes be slow due to too many resource-intensive background processes, resource-intensive apps, software conflicts, and more.
Regular optimization of your computer increases its overall performance. And it gives you control over what runs on your Mac. Stuff like login items, launch agents, hanging apps, and heavy consumers slow down your system and ruin the unparalleled Mac experience.
Try the Apple certified utility called CleanMyMac X. It includes a widely popular optimization module designed to make your Mac run smoother.
Here's how to use it:
- Install and open CleanMyMac X.
- Click Optimization from the left sidebar.
- Click View All Items. Choose the area you want to optimize and the apps you'd like to quit.
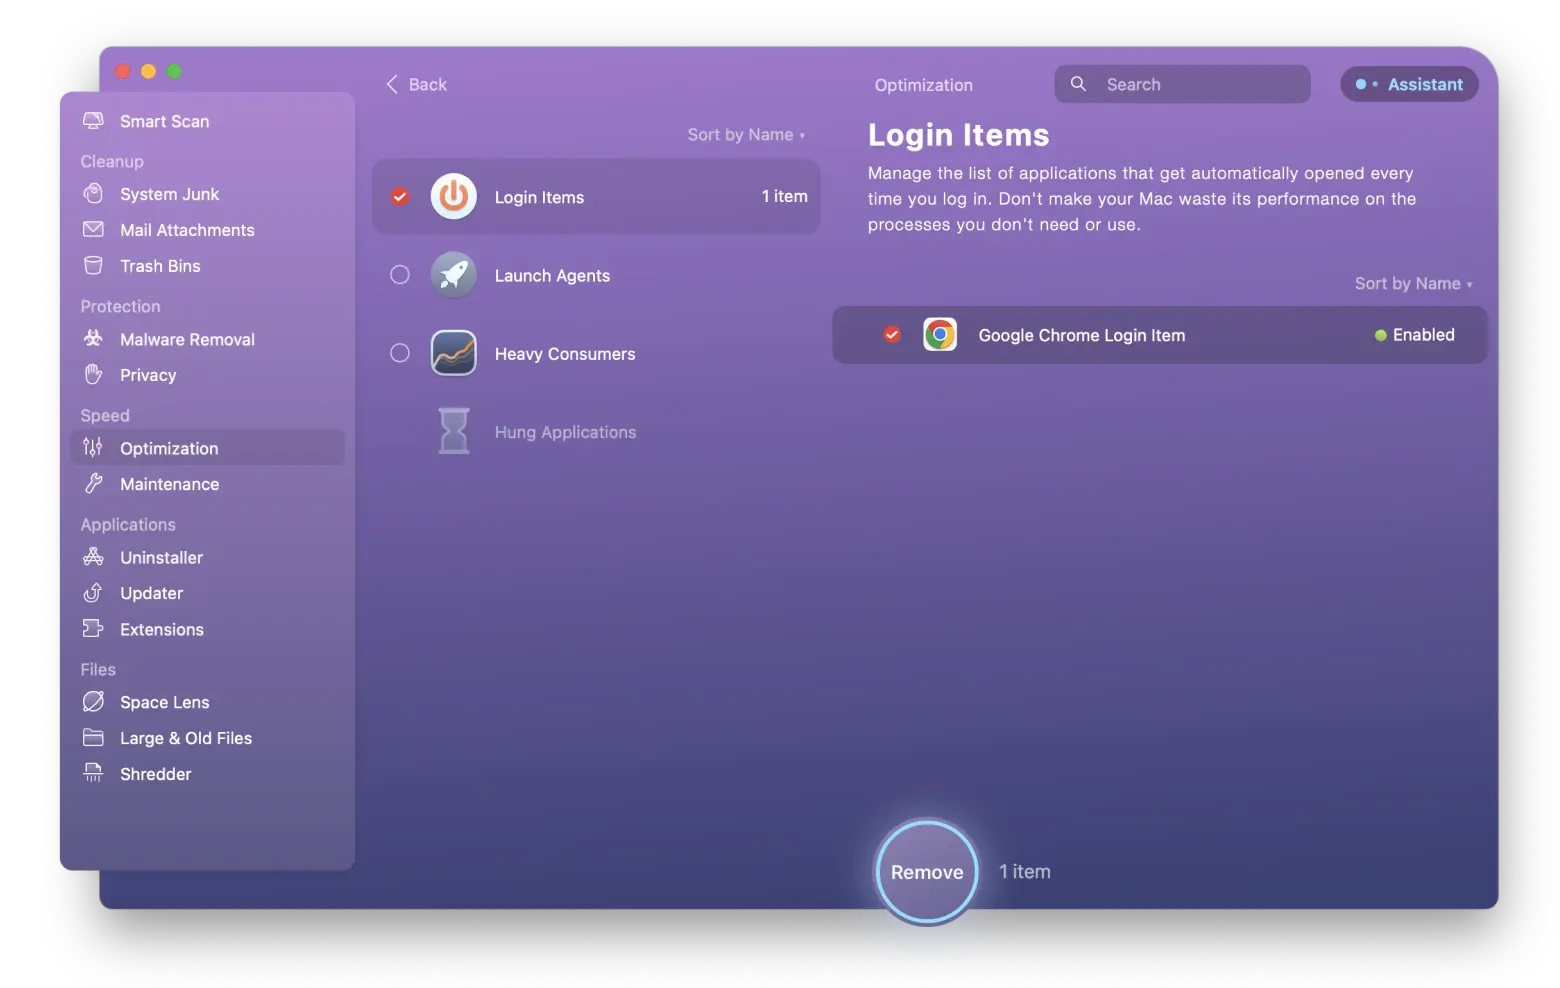
- Click Remove.
- Now, you can enjoy a more flawless and faster Mac!
Change scroll direction and improve your Mac experience
Now you know how to change mouse and Trackpad scrolling direction on a Mac via System Settings, Automator, and even Terminal. And if you want to build a much more effective workflow, we recommend you try BetterTouchTool and Swish to customize and automate trackpad gestures. Use Remote Mouse if you need to mirror your Mac's keyboard and trackpad on your iPhone's screen. Finally, let CleanMyMac X keep your Mac running smoothly.
All four of these wonderful apps are available for free during a seven-day trial of Setapp, an app platform that powers up your workflow on Mac and iOS.
In addition to these apps, you'll be able to use over 240+ others on Setapp. When your free trial is over, you can continue using all the apps on Setapp with a monthly subscription starting at just $9.99/month.
Scrolling on Mac FAQs
Where is scroll lock on Mac?
To turn Scroll Lock on and off on an Apple computer, press fn + Shift + F12.
Why do Macs scroll backwards?
Scrolling on Mac computers may seem "backwards" to some users because of a feature Apple introduced with the release of OS X Lion called "Natural scrolling."
This feature is designed to make the motion of scrolling on a Mac the same as scrolling on a touchscreen device like an iPhone or iPad. The concept is simple: You move the content on the screen in the direction you want it to go, just as you would on a touchscreen, where swiping your finger down moves the screen up.


