How to connect GoPro to MacBook
GoPros are compact action cameras made for capturing photos and video in extreme conditions. With its impressive imaging capabilities and endless mounting options, GoPro makes shooting video a seamless process in almost any situation. And while the camera itself features only two to three buttons for the user to control, the true opportunities for alteration open during post-production.
Most creators use their Mac computers for editing, sharing, or simply storing video files, but before they can work with raw footage, they need to know how to import videos from GoPro to Mac. And that process can pose its own challenges. So let’s look into some of the most effective ways for how to connect Go Pro to MacBook.
Method 1: How to transfer GoPro files to Mac via SD Card
The easiest option first. Learning how to transfer GoPro video to Mac via the camera’s SD card will take you minutes and prove to be one of the most straightforward methods. This way, the GoPro isn’t getting directly connected to your Mac, but it rather entails taking out a small portable memory card with images and video from the camera and sticking it into your laptop to access the files.
The only downside of this method is that you need to buy a micro SD card reader, and if you have a Mac that only supports USB-C ports, you’ll need to make sure that the micro card reader can connect through USB-C.
Here’s how to view GoPro videos on Mac by connecting the camera’s SD card:
- Take out the SD card from GoPro’s bottom door.
- Insert the SD card into the reader and connect it to your Mac.
- Open Finder (a blue smiling face icon in the Dock).
- Click on the SD card’s name or Untitled.
- Go to DCIM > 101GOPRO.
From here you can view and copy any files over to your Mac by holding down the Command key, selecting images and video, and dragging them over to the Desktop. Once you’re done, always remember to eject the SD card from Mac before removing it.
Method 2: How to connect GoPro to Mac via Image Capture
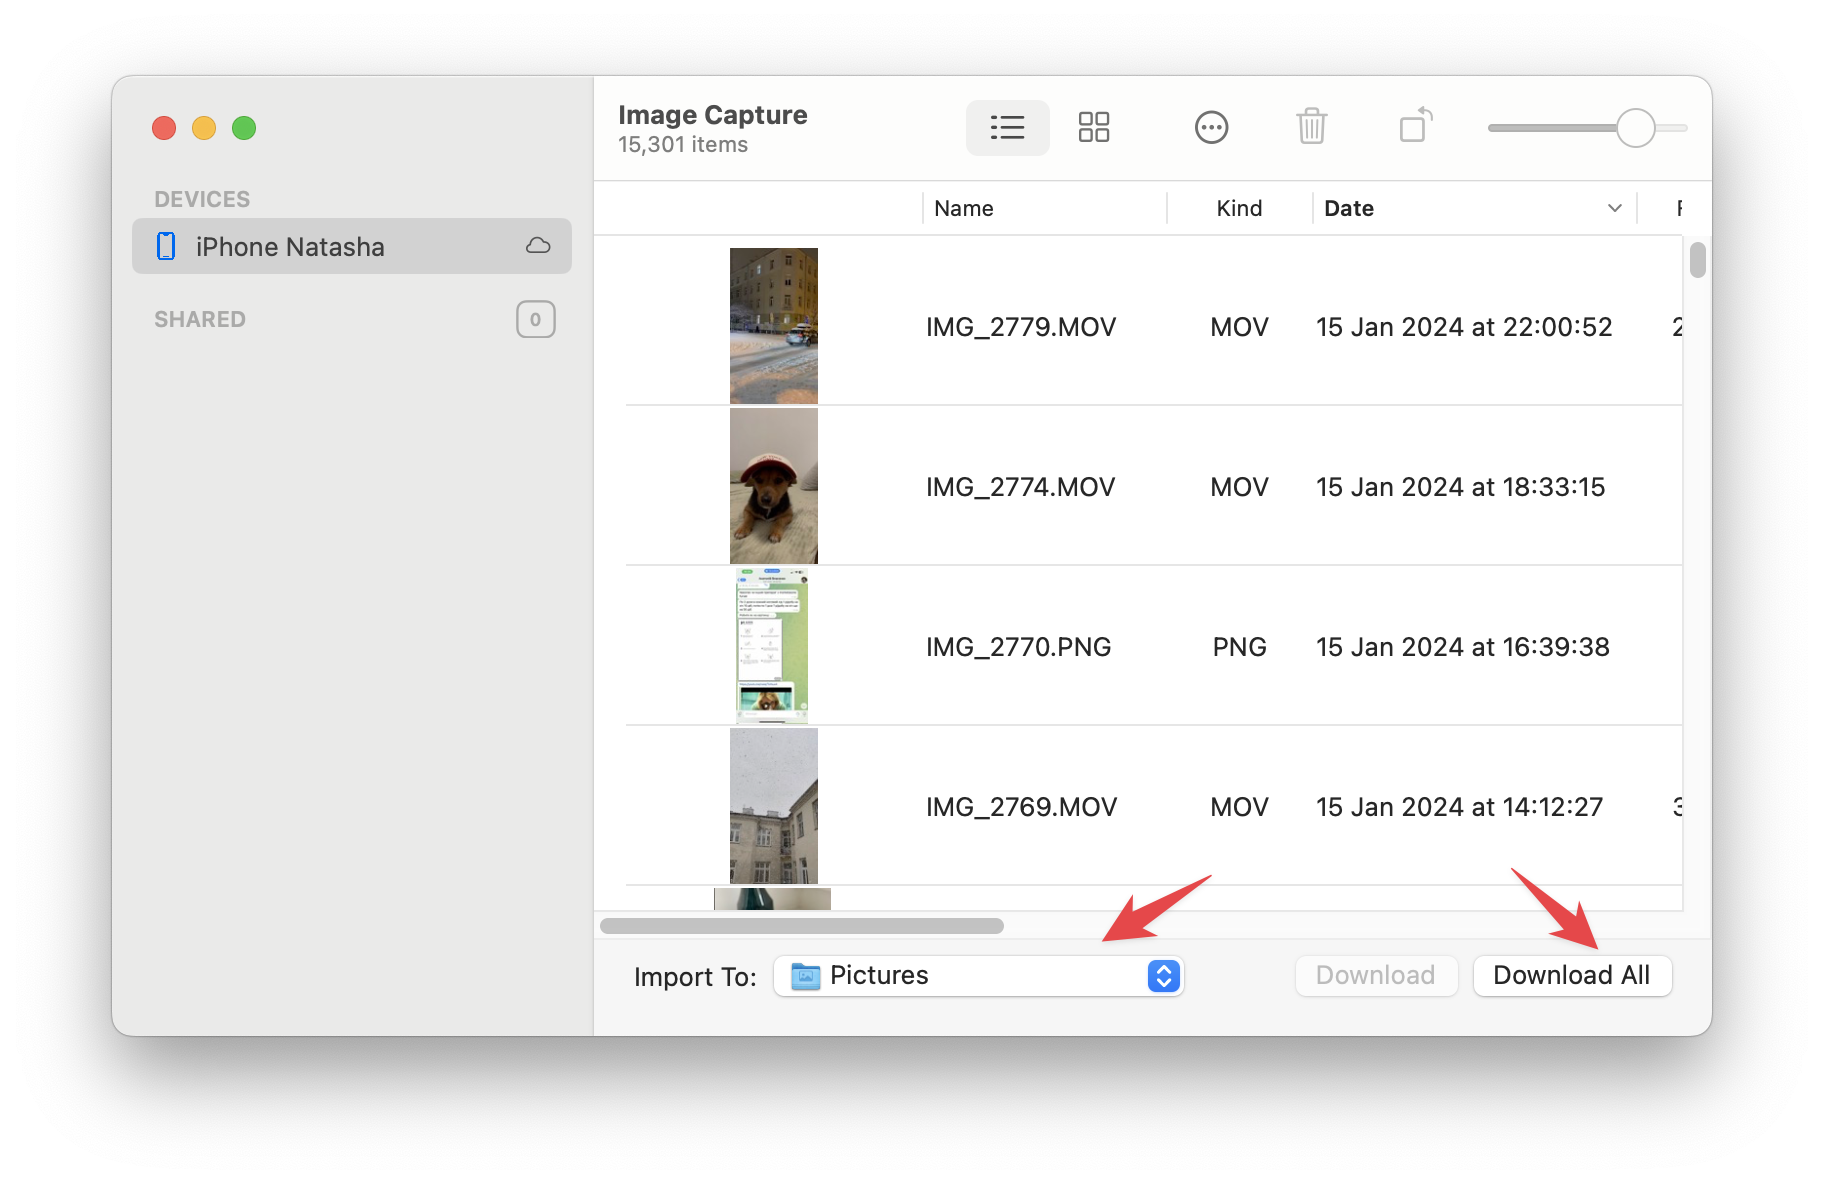
Image Capture is a built-in Mac app created to automatically recognize a connected scanner or camera and give access to all the media files inside. In order to connect GoPro to Mac via Image Capture, you’ll need a USB-C cable to link the two devices. Once you’re set up with the right wires, here’s how to download GoPro video to Mac:
- Connect your GoPro and Mac with a USB-C cable.
- Turn on your GoPro.
- Go to Applications > Image Capture (you can use the Spotlight search to find the app. Just press Command + Space and type in Image Capture).
- Click on the name of your GoPro from the left sidebar.
- Select the file destination folder from the Import To menu and click Import All.
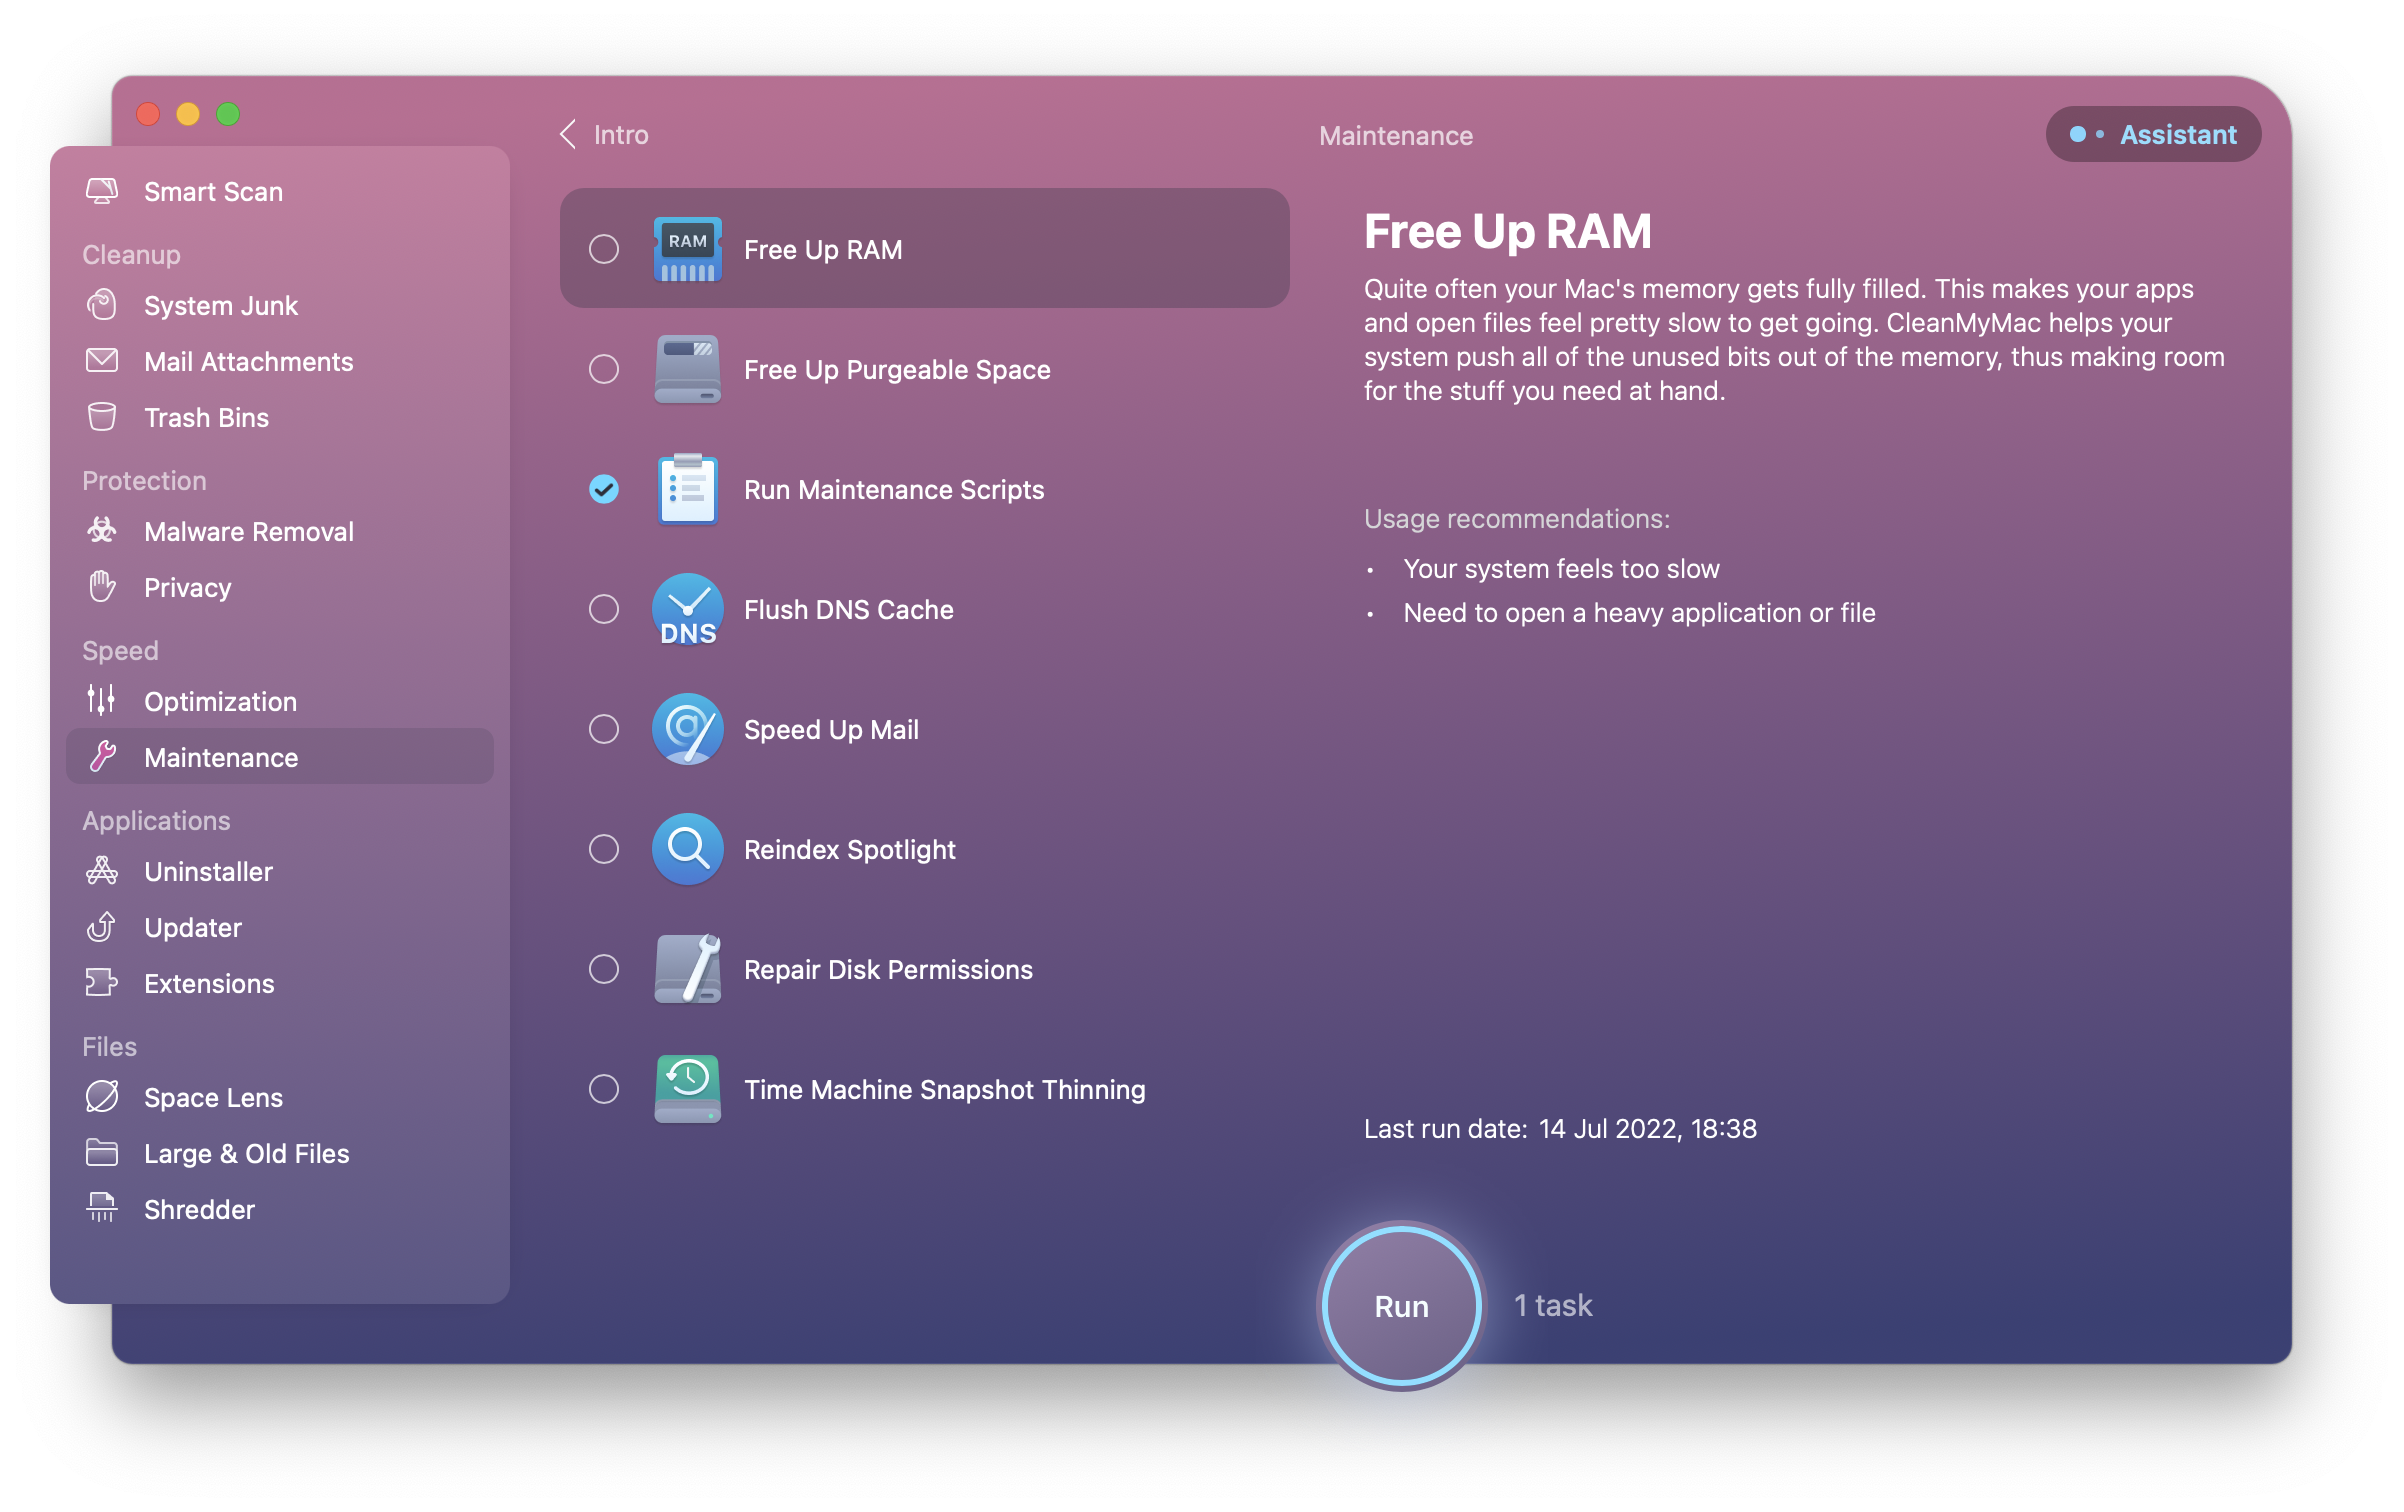
Tip: Linking your GoPro to your Mac simplifies video access and editing. Remember, video editing demands significant resources, so prep your Mac first. Regular maintenance like running macOS scripts, fixing disk permissions, and reindexing Spotlight is key. Instead of multiple tools, CleanMyMac X handles it all — optimizing RAM, managing Time Machine snapshots, and clearing DNS cache to enhance Wi-Fi connectivity with your GoPro. Try it free on Setapp and experience streamlined Mac performance.
Method 3: How to connect GoPro to Mac using Quik
Just like macOS has Image Capture, GoPro has its own file viewing system called Quik. It’s a free software that can be installed like any other app on a Mac and will come in handy when you’re wondering how to upload GoPro videos to Mac. The process is straightforward, just follow these steps:
- Plug your GoPro into your Mac using a USB-C cable and turn the camera on.
- Open the GoPro Quik app on your Mac.
- Log in with your GoPro account username and password
- Click Import Files.
Note: Using Quik requires a free account, so you’ll need to sign up for a GoPro account before launching the software.
When the import is complete, you’ll find the files in your Mac’s Movies folder, ready for further processing. It’s now time to make some magic and turn that raw footage into something spectacular!
Take a moment to improve your photos and videos.
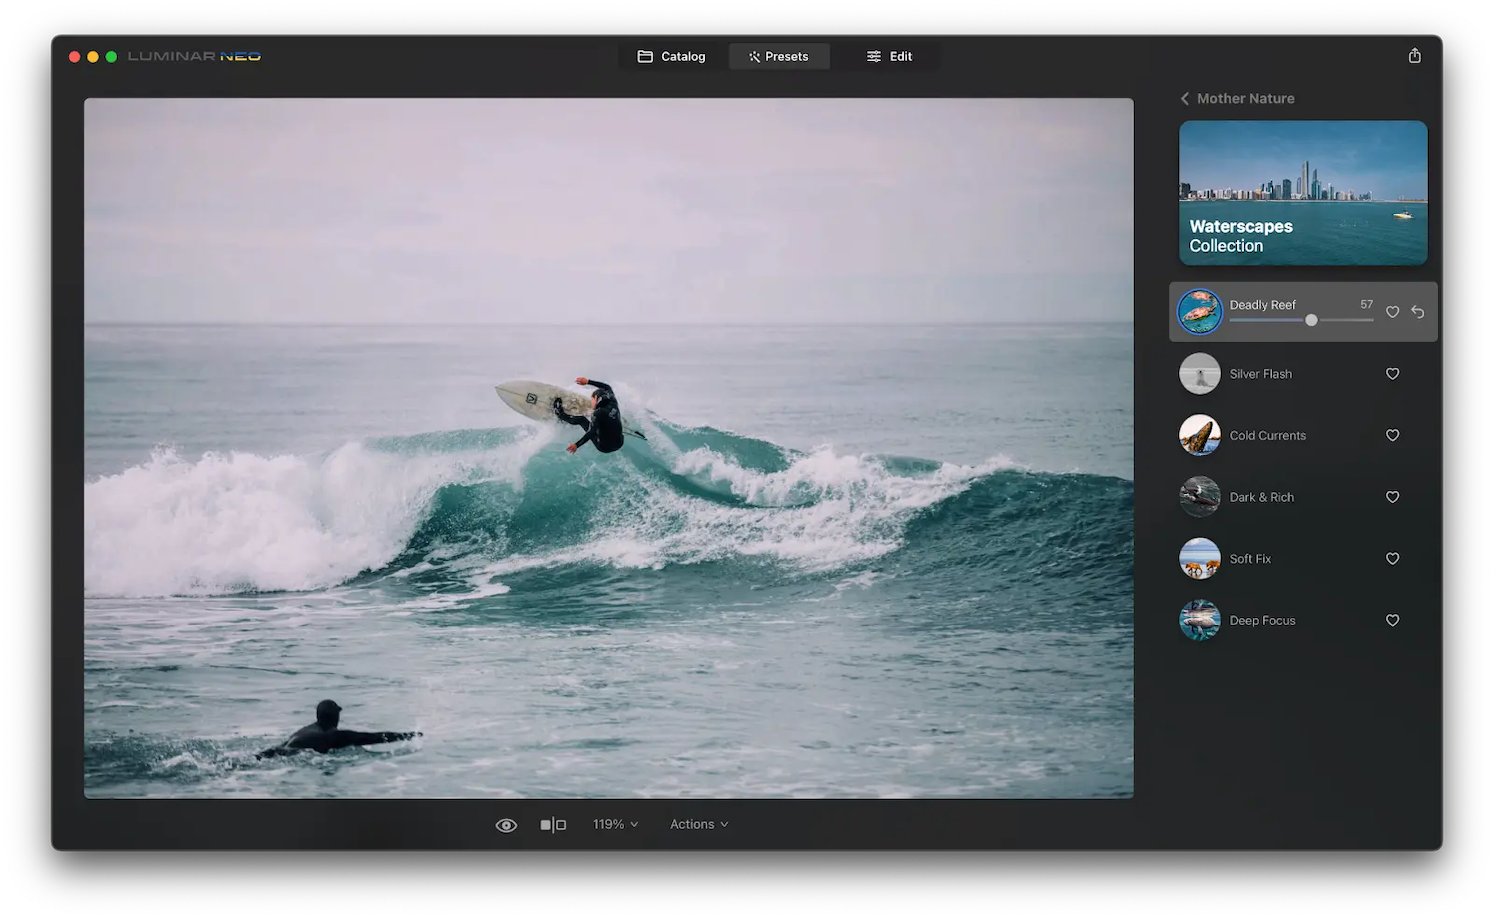
Luminar Neo is one of the top photo editing apps on the market that will help you achieve “wow factor” results in no time. Turning regular images into works of art has never been easier with Luminar Neo’s collection of pro presets. Choose from a curated selection of intuitive tools ranging from the familiar noise removal, portrait enhancements, and object eraser to the more unconventional Body AI and Sky AI enhancement tools.
And if a robust video editor sounds more fitting for your needs, there’s one utility you shouldn’t miss.
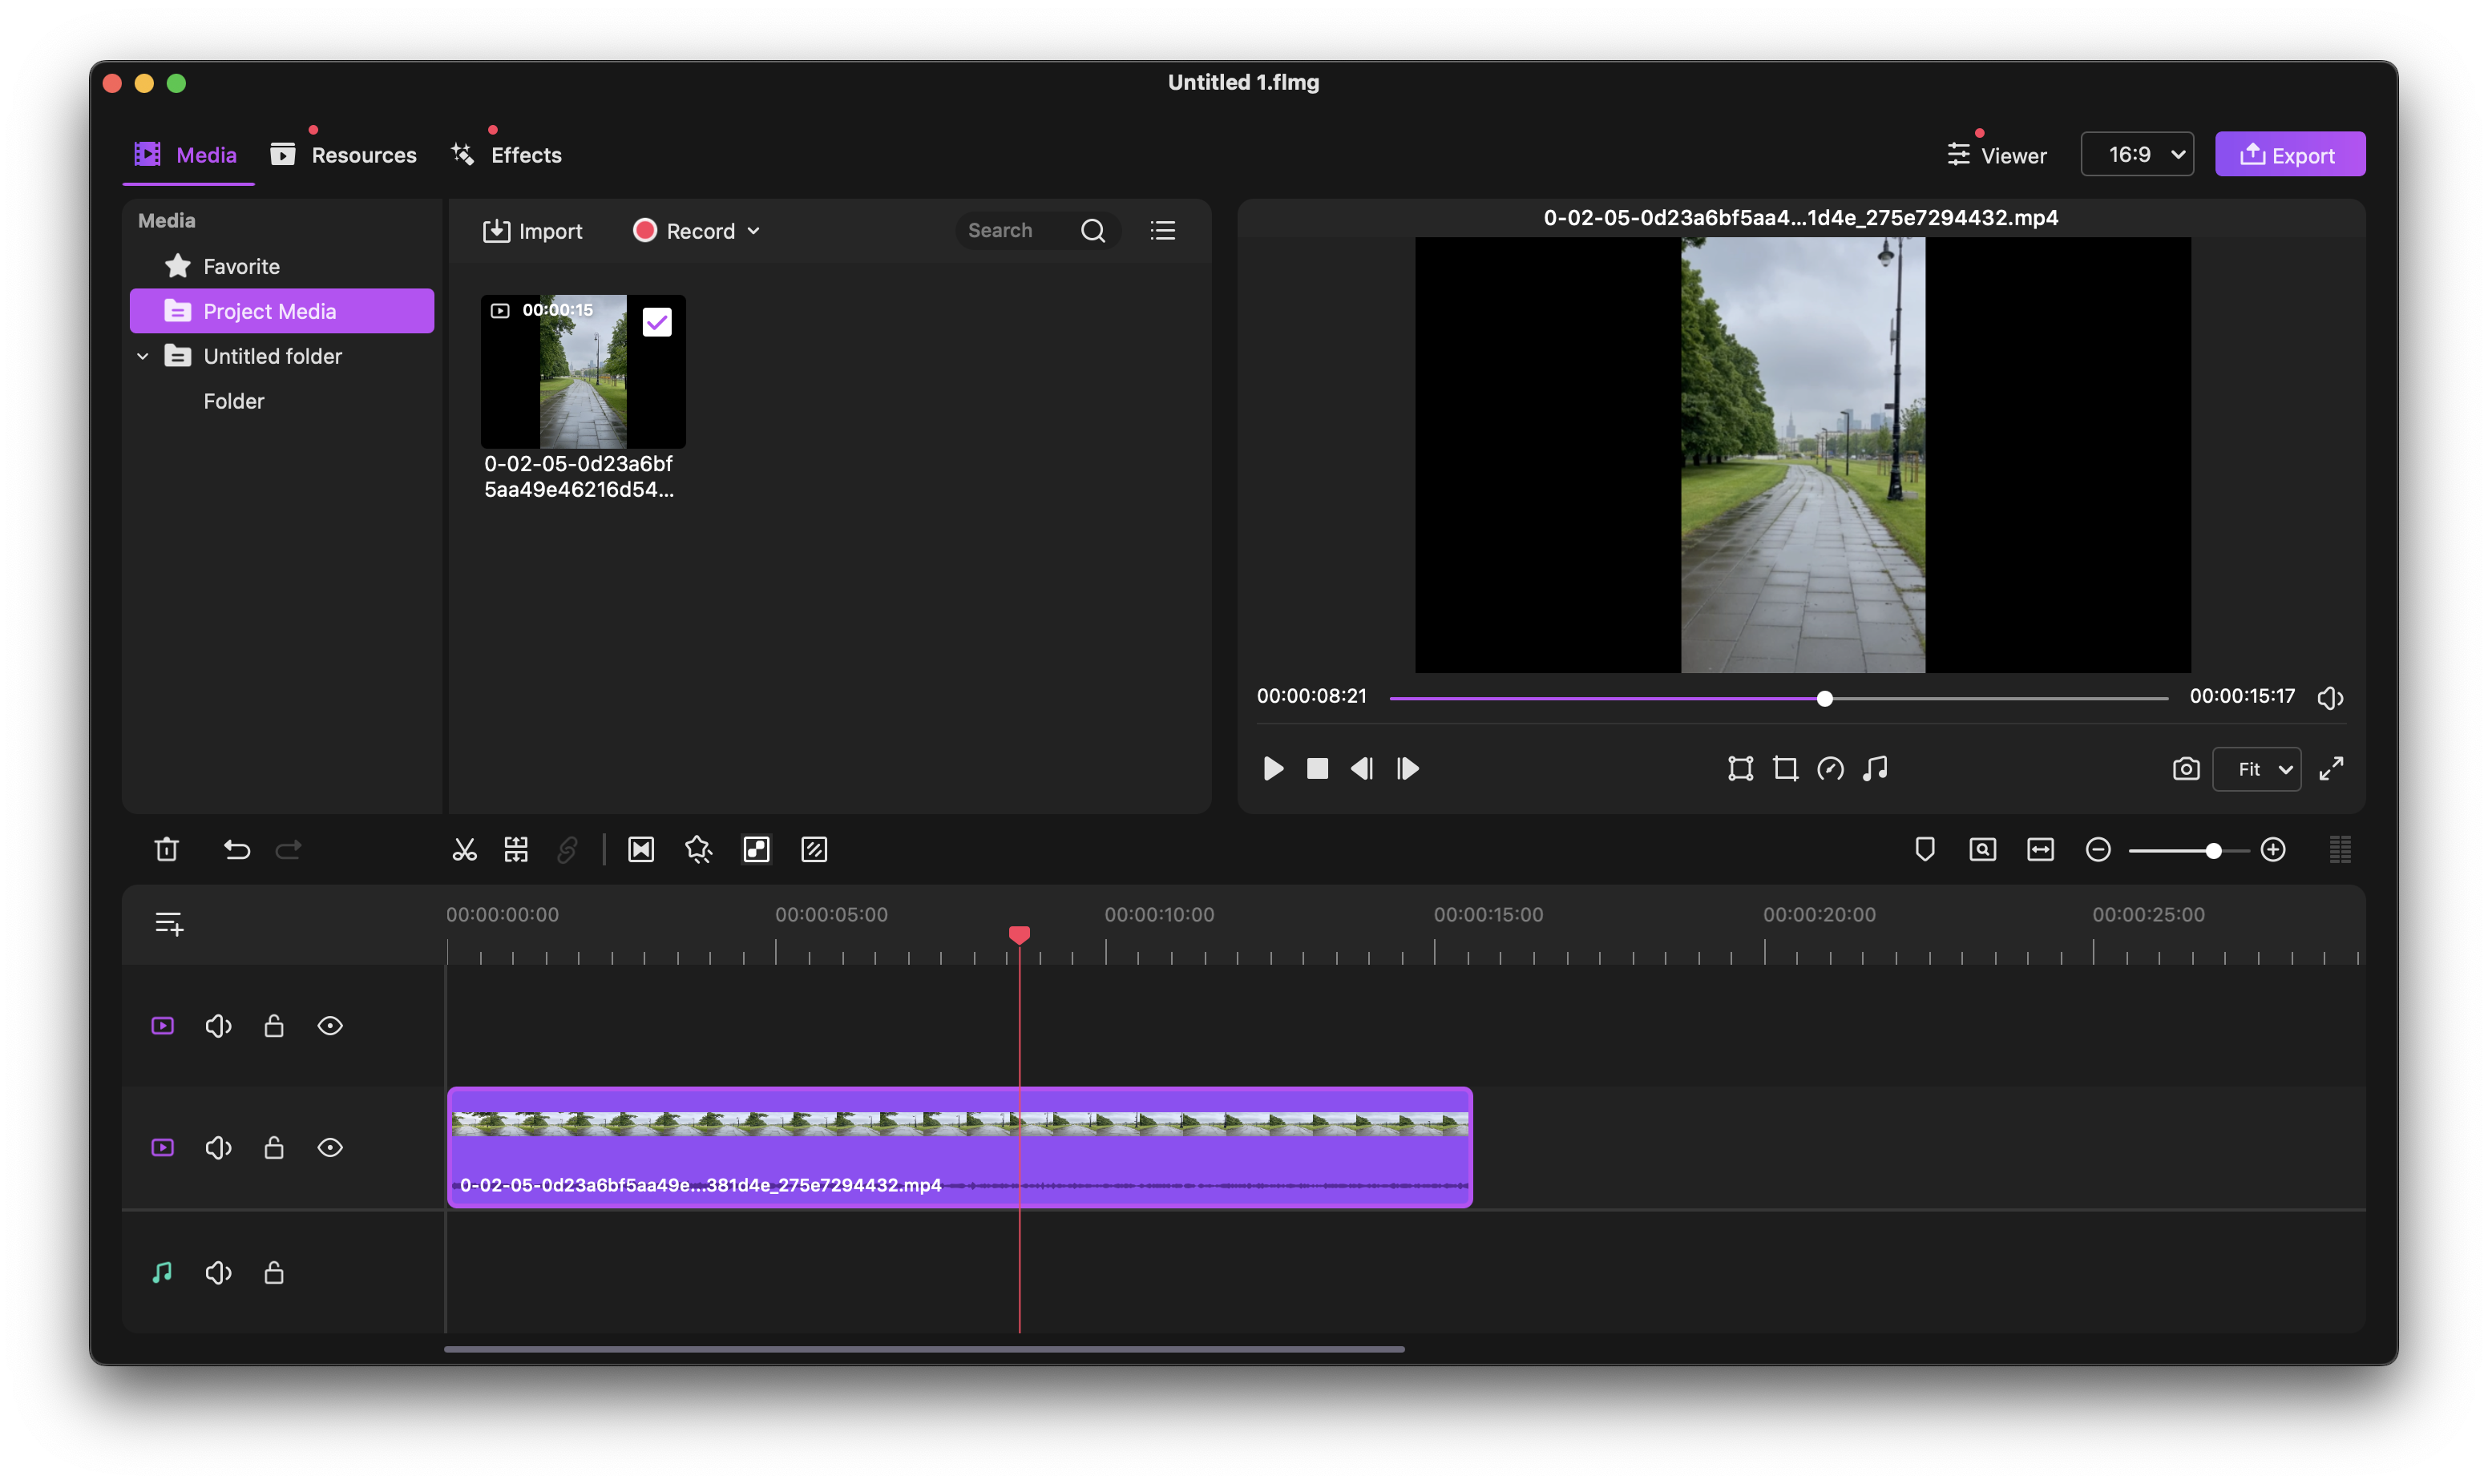
Filmage Editor is one of a kind video editor which lets you create professional-looking videos even if you’re just a beginner in this field. Filmage was made with an easy-to-use and quick-to-master interface with almost endless possibilities that range from frame by frame editing, multitrack timeline and overlays to filters, picture-in-picture mode, ripple delete, and much more.
To edit videos like a pro with Filmage, simply:
- Open the app.
- Click on the + sign to create a new project or choose aspect ratios.
- Drag and drop your video and audio files into the project.
- Begin editing and enjoy the app’s intuitive interface!
Method 4: How to connect GoPro to MacBook using Wi-Fi
Tired of cables, wires, and adapters? Well, there’s a way to connect GoPro to Mac wirelessly. The only condition being that you need a stable Wi-Fi connection for the process to be successful.
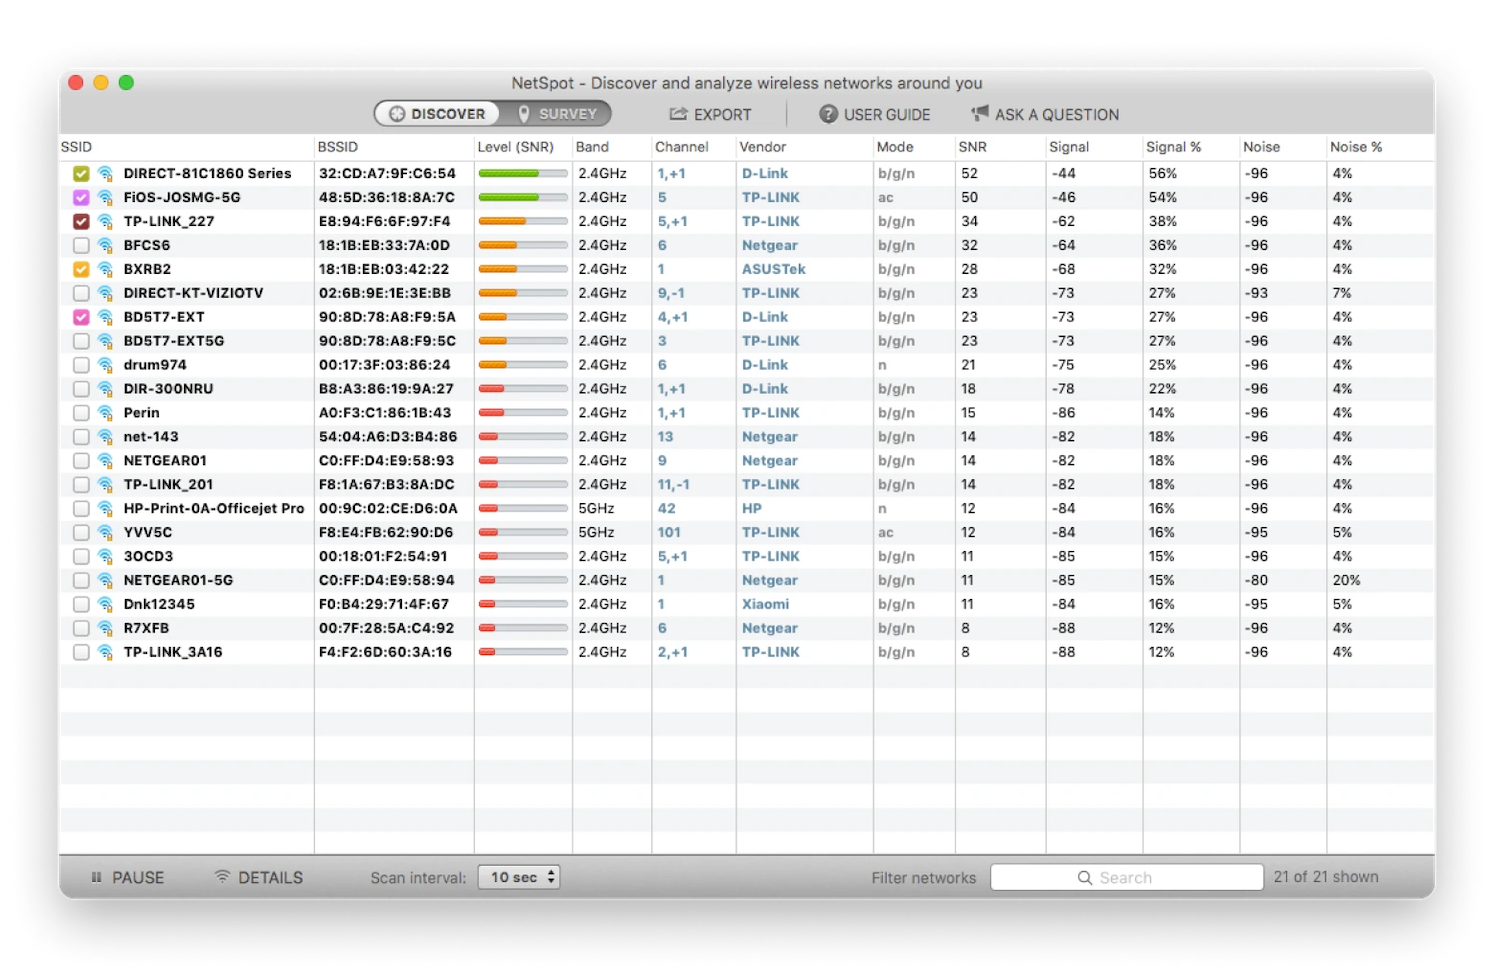
NetSpot will deliver on all your network connection needs. This smart utility was designed with two main features in mind: a Wi-Fi scanner that provides in-depth information about the wireless environment around and an analyzer that helps you get the most out of an individual network. NetSpot is simple in operation, and the best at squeezing extra speed out of your network.
To instantly improve your connection with NetSpot, follow these steps:
- Open the app and click Start a New Survey.
- Name the new project.
- Import or draw a map of the site you want to survey.
- Move around the site to gather enough data for NetSpot to create a Wi-Fi site survey report, then click Stop Scan.
- Analyze the results and follow advice to eliminate areas of signal weakness.
Once you’ve got a stable and secure connection established, here’s how to upload GoPro videos to Mac over Wi-Fi:
- Enable WiFi on your GoPro and set to App mode.
- Connect your Mac to the same network using the SSID and password entered during the pairing process.
- Open the Camera Suite app and select GoPro Hero 2/3/4.
- Click Connect to Camera.
Method 5: Recovering lost GoPro files on Mac
Apart from having connection issues and trying to find out how to download GoPro video to Mac, users have reported errors during the transferring process which have caused them to lose their files completely.
Sometimes, it just doesn’t matter how well you protect your photos and footage and how meticulous you are with backups — losing files happens to the best of us. But before you panic again, know there’s professional data recovery software that can help.
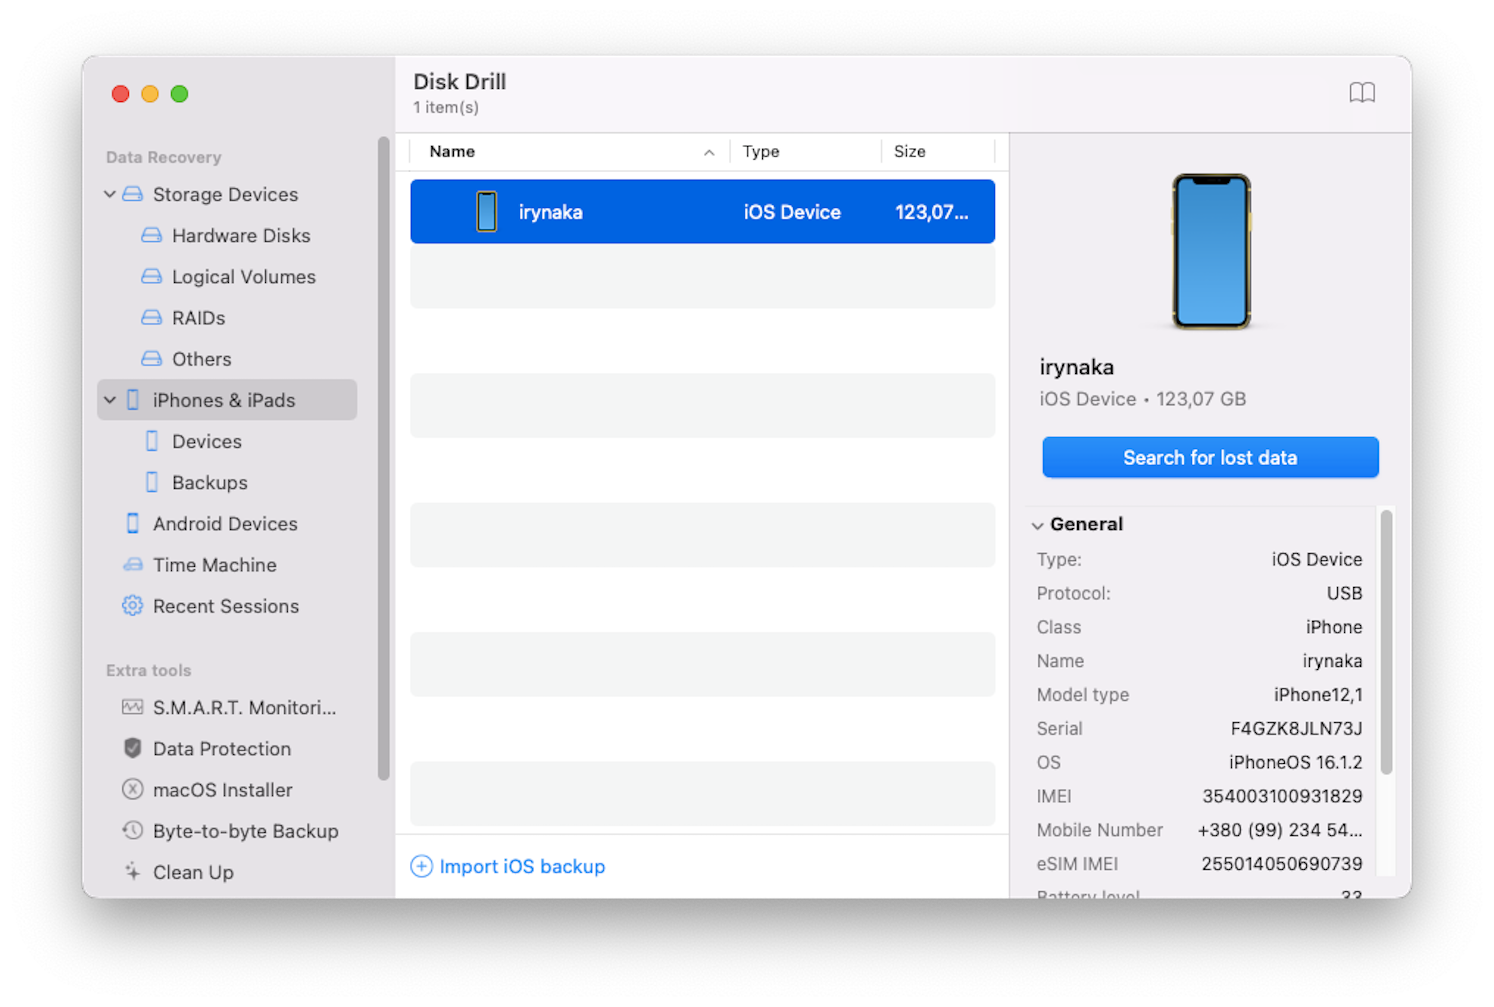
Disk Drill is a powerful data recovery solution that can scan any disk or partition to detect damaged or deleted data and recover lost files. From internal Mac hard drives to external disks, iPhones, cameras, and Kindles, Disk Drill works equally well on all devices. The utility can not only bring back your lost files in 200 different formats, but can also ensure your data is properly protected against damage.
Since lost or accidentally deleted GoPro files don’t disappear right away and just become invisible on the SD card first, there’s some time to safely retrieve them if you have the right tools.
To quickly recover your files using Disk Drill, follow these steps:
- Install and open Disk Drill.
- Connect your GoPro to Mac with a USB cable.
- Go to the Data Recovery panel on the left and choose your GoPro.
- Click Search for lost data.
- Once the search is complete, check the boxes next the the photos or videos you’d like to restore > Recover.
FAQs: How to view GoPro videos on Mac
As well as the solutions outlined above, here are some answers to the most common questions about how to connect Go Pro to MacBook.
Why won’t my Mac recognize my GoPro?
This connection issue comes up due to the camera not showing under the My Devices section in the GoPro app, but there are a few ways to fix this: by reactivating the hardware settings, restarting your Mac, or formatting the GoPro SD card.
Can GoPro connect via Bluetooth?
Yes, newer GoPro cameras use both Bluetooth and WiFi wireless connections.
How do I edit GoPro on Mac?
GoPro’s Quick app will let you view, manage and edit your footage on a Mac. You can also use any other video editing software that supports MP4 and HEVC files.
As you now know, there are a few possible solutions for how to upload GoPro videos to Mac, even if it seemed challenging at first. You’ll never have to worry about losing your files again, since Disk Drill is always there to recover them. So it’s a great time to improve your editing skills with the help from Luminar Neo and Filmage Editor, while always getting a stable connection with your devices through NetSpot.
Good news! All five apps — Luminar Neo, Filmage Editor, ToothFairy, NetSpot, and Disk Drill — are available to you for free along with more than 240 handy apps on Setapp. Setapp is a platform of best in class macOS and iOS utilities offering support and guidance in all your tech endeavors and beyond. Try every and all Setapp apps today at no cost and you’ll never look back!
