How to record video: Top tips for Mac
Learning how to record video on Mac is a skill definitely worth acquiring — be it for creating a YouTube tutorial, recording an online meeting with a client, or documenting a detailed bug report.
In this article, we are going to show you different options you can record yourself or your screen actions on Mac with. We’ll start with the tools that are already installed on your Mac and then move on to the apps that offer more advanced video recording and editing functionality.
Once you know how to video record on Mac in different ways, you’ll be able to decide on the ones that suit your workflow best.
Do Macs have a built-in video recorder?
When trying to figure out how to video record on Mac, it’s only logical to first look for a native macOS video recorder. You’ll be surprised to learn that there isn’t one, but there are several apps on your Mac that you can use for video recording:
- Photo Booth: It’s designed to take snapshots with your Mac’s built-in camera, but also has a video recording mode you can use
- QuickTime Player: As the name suggests, it’s primarily meant for playing media files, but it’s possible to use it for video recording of Mac screen or camera feed (you can also record both at the same time)
- Screenshot toolbar: A native screen capture tool for recording your screen or taking screenshots of it
Tip: Once you set Screenshot to one of the screen recording options (full screen or selected area), you can use hotkeys as a shortcut for video recording your screen:
- Shift + Command + 5 to open the toolbar
- Click to start recording
- Command + Control + Esc to stop the recording
Since none of these apps were originally designed as full-featured video recorders, they perform quite well when it comes to basic video recording, but otherwise offer quite limited functionality. Expect virtually no editing tools (QuickTime Player only lets you shorten, flip, or rotate your recording), no subtitles or annotation options, and no MP4 export file format, recommended by most streaming platforms, including YouTube.
Record a video of yourself on Mac
Thanks to your Mac’s built-in HD camera you can easily make a recording of yourself speaking in front of it. But before you record yourself on a Mac, consider these simple tips to help you look and sound your best:
- Clean the camera with a soft cloth
- Find a quiet place with no loud background noises
- Check the quality of your Wi-Fi connection (move closer to your router, remove any objects that could impede the signal, etc.)
- Have plenty of light facing you and avoid windows or bright lamps lighting you from behind
- Pay attention to your position in the frame (make sure you’re in the center and there’s some space left above the top of your head so that the framing doesn't feel too tight)
- Look into the camera, as if making eye contact with your viewer
- Speak clearly and a little louder than usual
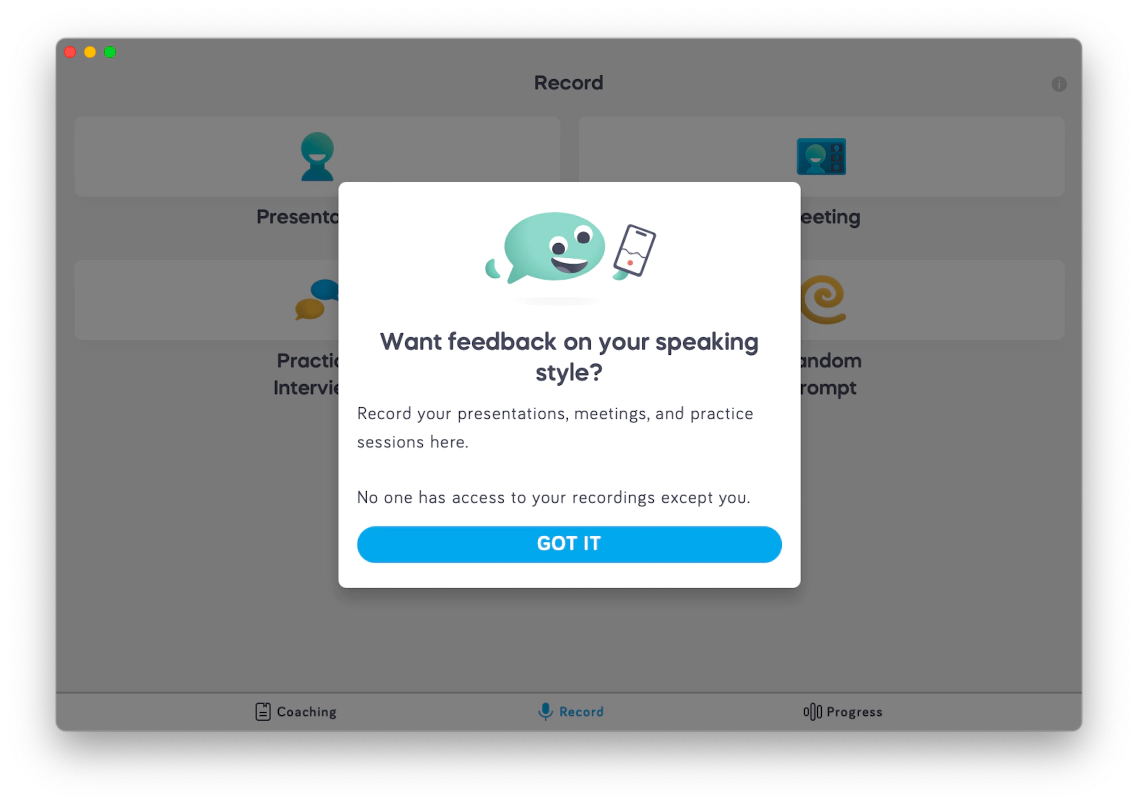
One last touch before you can truly say “I am ready to record myself!” is checking how you’re doing in terms of vocal delivery and presentation skills. To not feel anxious about speaking to an audience when you record yourself on a Mac, practice with Speeko.
Speeko is an AI speech coach that listens to you speaking, gives you feedback (statistics on your pace, pauses, intonation, enunciation, conciseness as well as the use of jargon and fillers), and offers personalized skill-building practice exercises and daily vocal warmups.
In Speeko you can record yourself speaking, reacting to random prompts from the app, following your presentation notes, or practicing an AI-assisted job interview. Or even get real-time feedback on your speech during online meetings in Zoom, Slack, Microsoft Teams, and Google Meet.
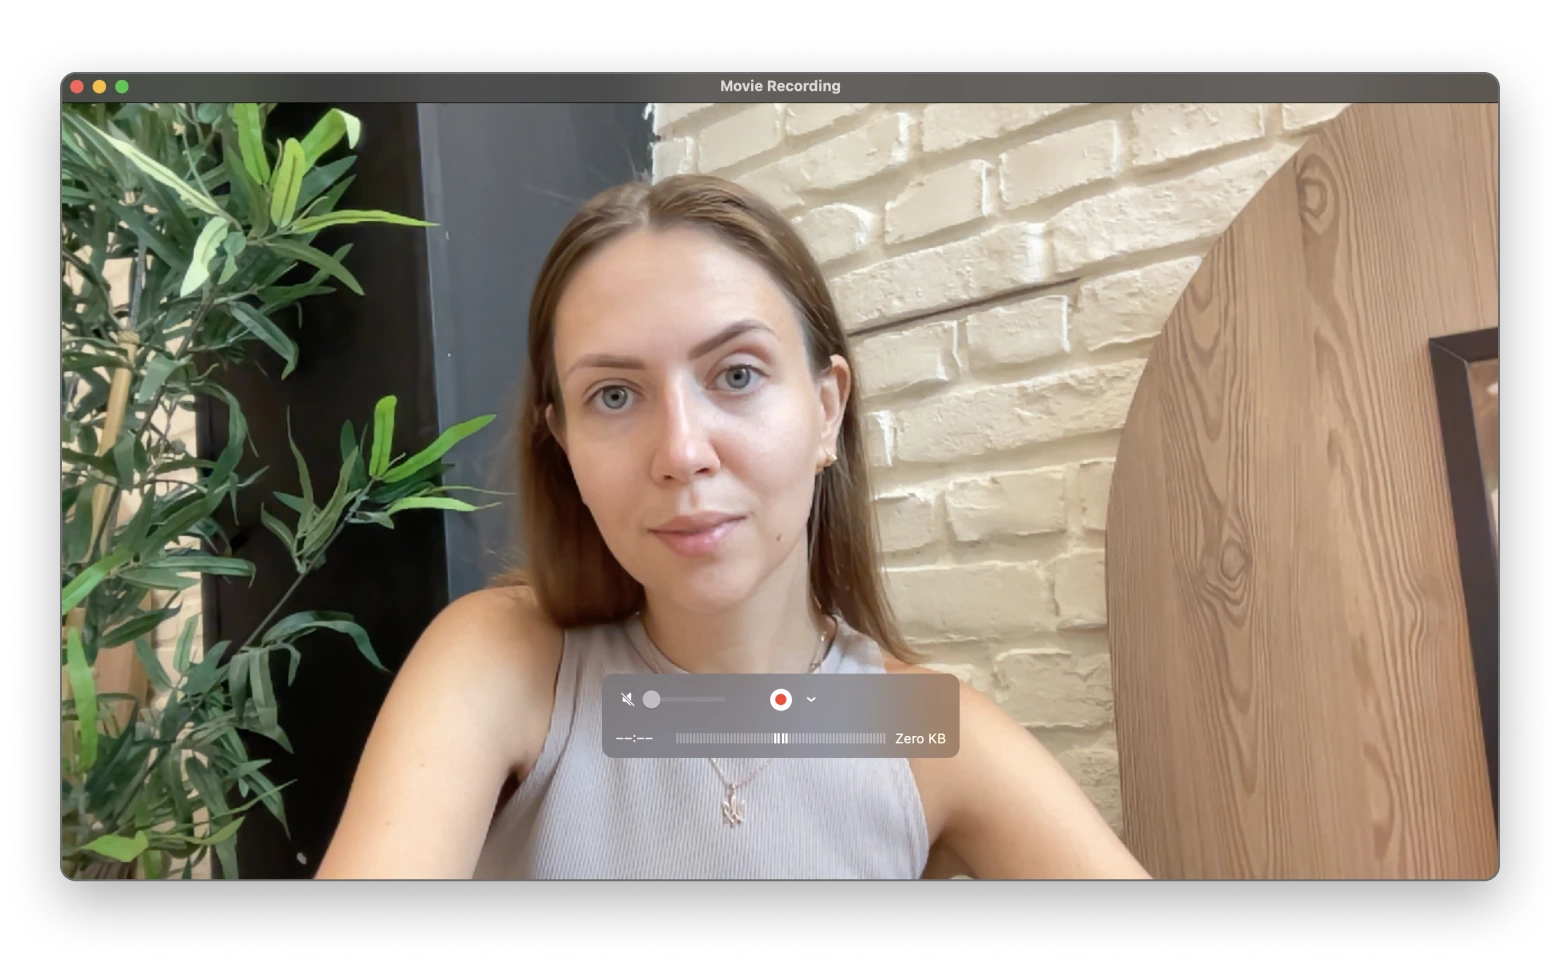
Once you’re ready to record yourself on a Mac, the easiest way to do it is with the QuickTime Player. This app is already installed on your Mac and is very easy to use.
Here’s how to record video on Mac with QuickTime Player:
- Open QuickTime Player from Finder
- Go to File in the QuickTime Player top menu ➙ New Movie Recording
- Click on the red record button at the bottom of the recording window
- Click on the same button to stop the recording when you’re finished
- Go back to File in the app’s top menu and save your video file
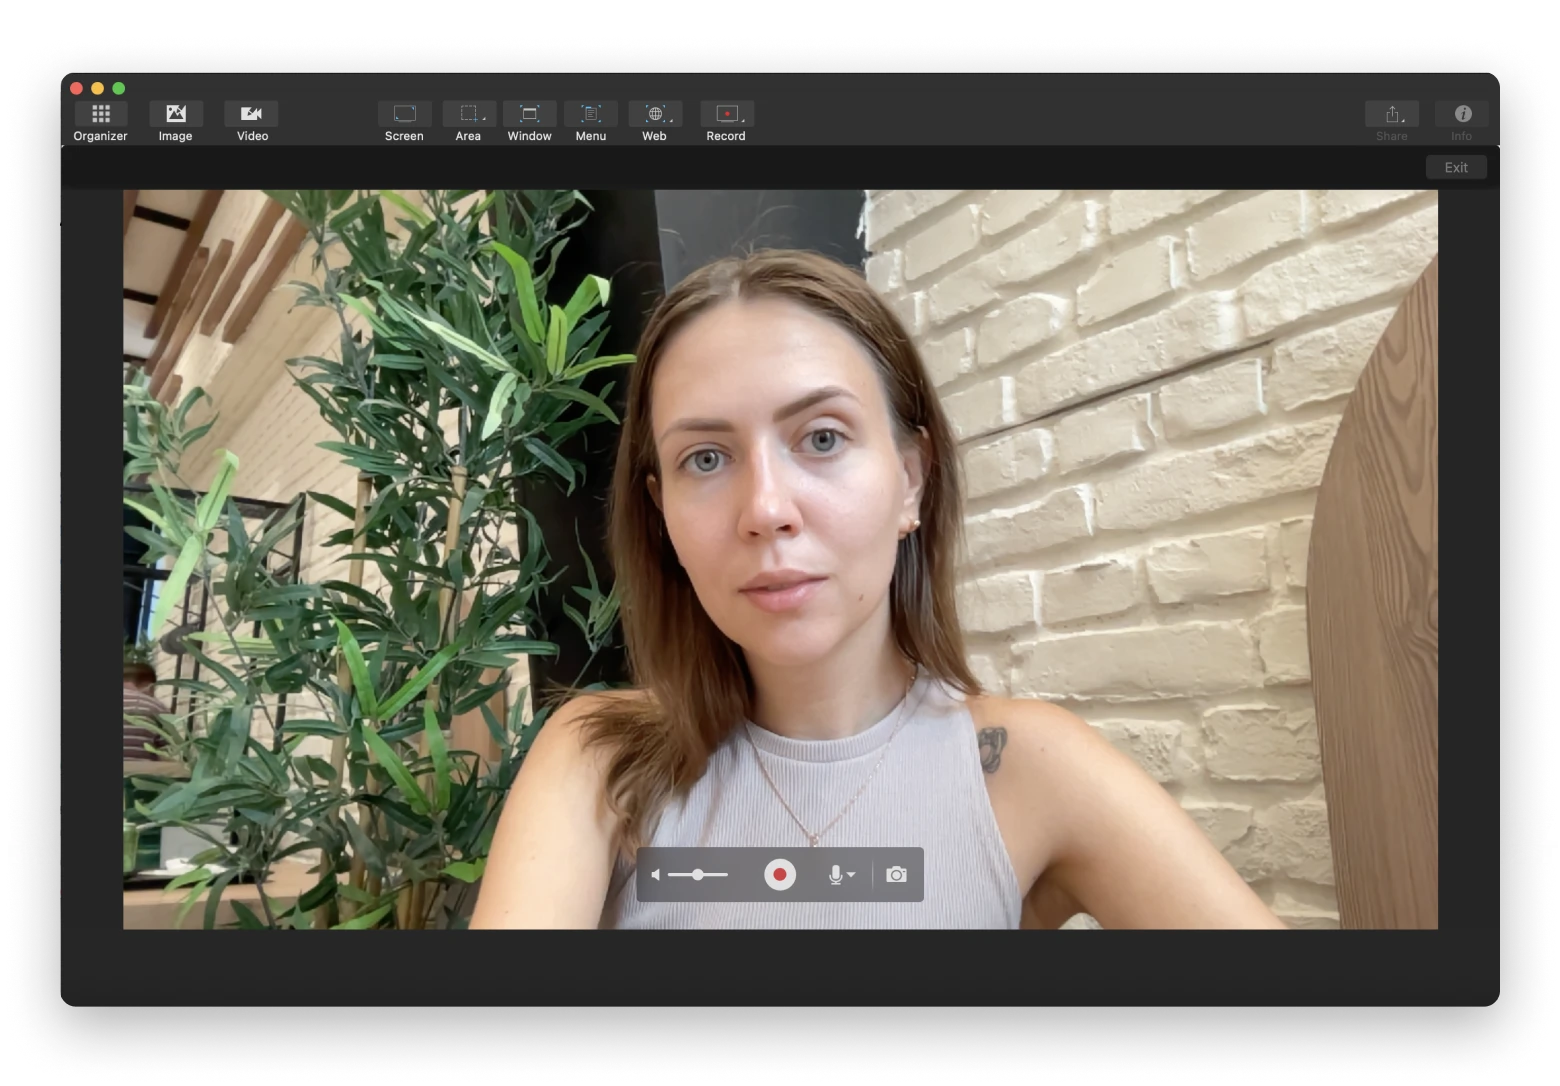
As we have already mentioned, there isn’t much you can do to your video in terms of editing in QuickTime Player. So if you’d like more editing power when deciding how to video record on Mac, try Capto.
With Capto you can both record your video and edit it inside the same app. It’s a versatile screen capture tool that lets you record yourself on a Mac, record your screen, a specific app or a browser window, or a selected area of any size with any number of windows in it.
It also has a ton of handy features for editing and sharing your video. You can:
- Automatically hide desktop when recording your screen
- Edit your video and audio tracks separately — cropping, cutting, adding voiceover, and fading in and out on audio where necessary
- Add text annotations or speech bubbles
- Use Option + Command + 3 shortcut for video recording of Mac screen as well as other hotkey combinations for recording and capture
- Share to Dropbox, YouTube, Facebook, or cloud storage, including FTP/SFTP servers
Making videos on Mac
There are different types of video content you can create on Mac: record yourself on a Mac, make a video recording of Mac screen, create GIFs, screen video tutorials with camera overlay, timelapse videos, and others. Let’s start with the screencasts first.
The ultimate tool we can recommend for recording your screen actions and easily editing your video inside the app is CleanShot X.
CleanShot X lets you record videos and GIFs or capture screenshots of your Mac’s screen activity (with all your desktop icons instantly hidden as an option), apply screenshot annotation, use basic video editing tools, and keep your recordings saved on CleanShot’s cloud for free.
To try video recording of Mac screen with CleanShot X:
- Launch CleanShot X and click on its menu bar icon ➙ Record Screen
- Choose an area you’d like to record: drag to select a portion of the screen, press Space to record a specific app window, or click anywhere to record the entire screen
- Click on the camera icon to add camera feed to your screen recording
- Press Record Video to start the recording
- Press the stop button in the top menu bar when you’re finished
- Apply the necessary edits ➙ Convert
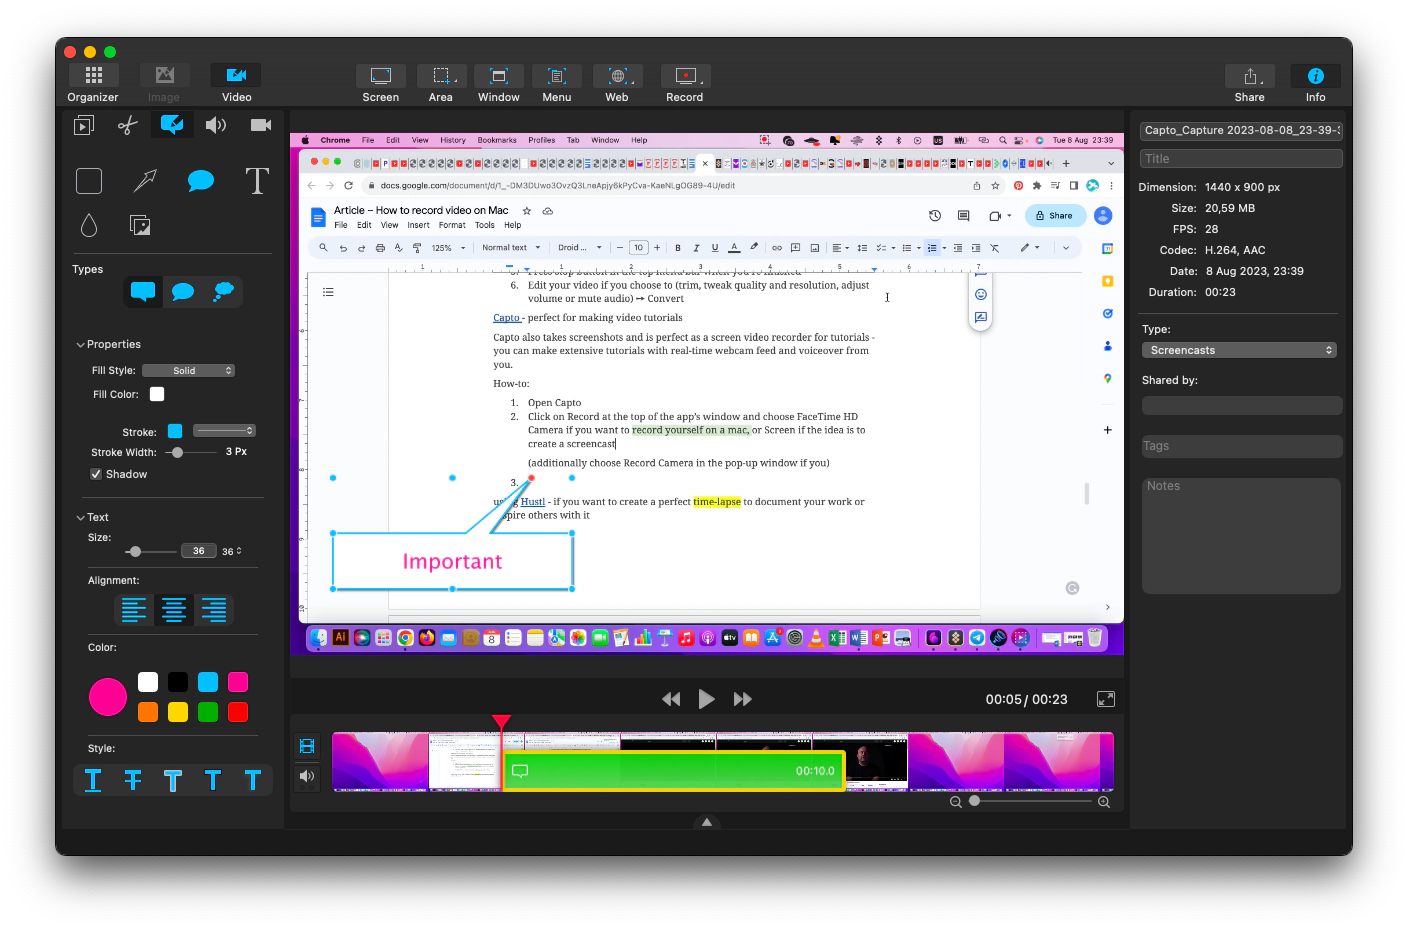
If your mind’s set on making a video tutorial, a screen video recorder that’s perfect for creating one is Capto — use it for extensive tutorials with real-time webcam feed and voiceover from you.
Here’s how to video record on Mac to create a tutorial with Capto:
- Open Capto
- Click on Record at the top of the app’s window and choose Screen
- Check the box next to Record Camera in the pop-up window that appears (this will include your live video commentary to the screencast)
- Press the red recording button and start your tutorial
- Press the stop button in the top menu bar when you’re finished
- Use editing and annotation tools from the panel on the left
- Go to the File menu at the top to save your work
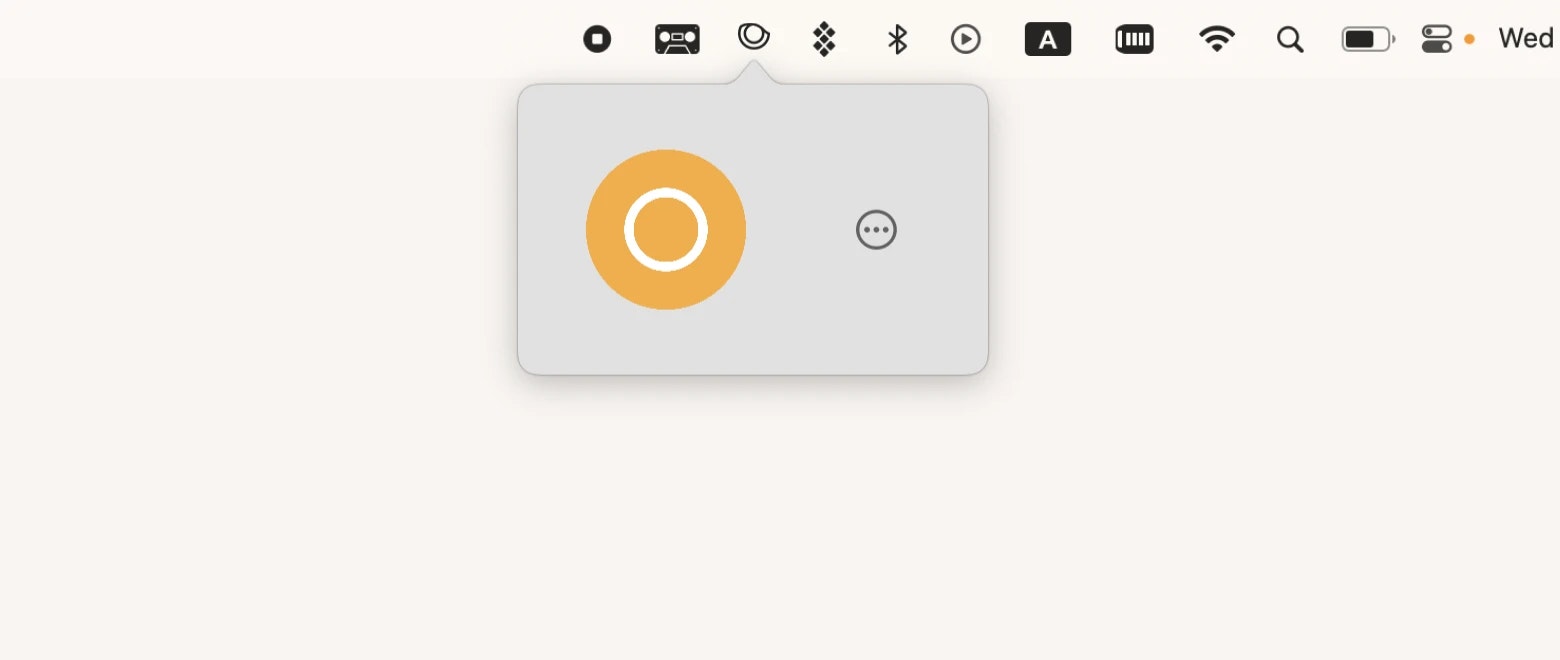
Another interesting format of video recording your actions on Mac is a time-lapse. You can use it to document your workflow or share progress in creating a long-term project. To turn your recording into a time-lapse with sharp details in ultra-high definition of up to 8K quality, use Hustl.
The app is very easy to use: its menu consists of a single giant record button that you press to start, pause (you can get back to recording your project whenever you’re ready), or stop your time-lapse recording.
Once you’re done recording, you can adjust the settings on the resolution (480p to 8K), speed (12 to 60 frames per second), and file type. What’s great is that Hustl automatically edits out inactivity periods in your video to save time on editing manually (you’ll still be able to preview and fine-tune frame-by-frame before exporting, should you choose to).
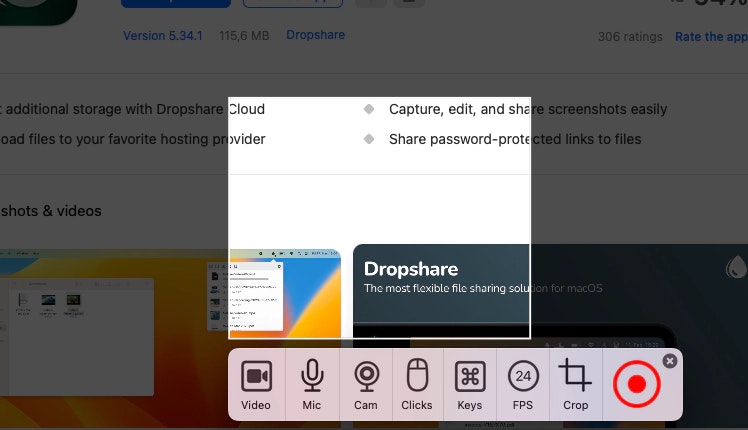
To not only effortlessly record your screen or camera video, but to also instantly and securely share them with others, try Dropshare.
Dropshare is a robust and secure file-sharing app that works with your favorite cloud storage accounts and lets you record, edit and share your screenshot and screen videos as password-protected download links. (You can move up to 10 GB of your data to Dropshare cloud with a free plan for Setapp subscribers.)
How to secretly record a video call on Mac
Was there a time you wished you could record your meeting without other participants knowing? Maybe it was a job interview that you wanted to go over to see how you could improve. Or a work meeting you were supposed to take notes of but got distracted. Or a difficult conversation you’d like to analyze. Whatever your reasons might be, the current Zoom setup wouldn’t allow it:
- You can only record if you’re a host or have requested and received permission from the host during the meeting
- Even if you are the host, you still won’t be able to record the meeting secretly, since the program issues a mandatory notification to everybody in the meeting
Want to hear about a backup plan? Meet Backtrack.
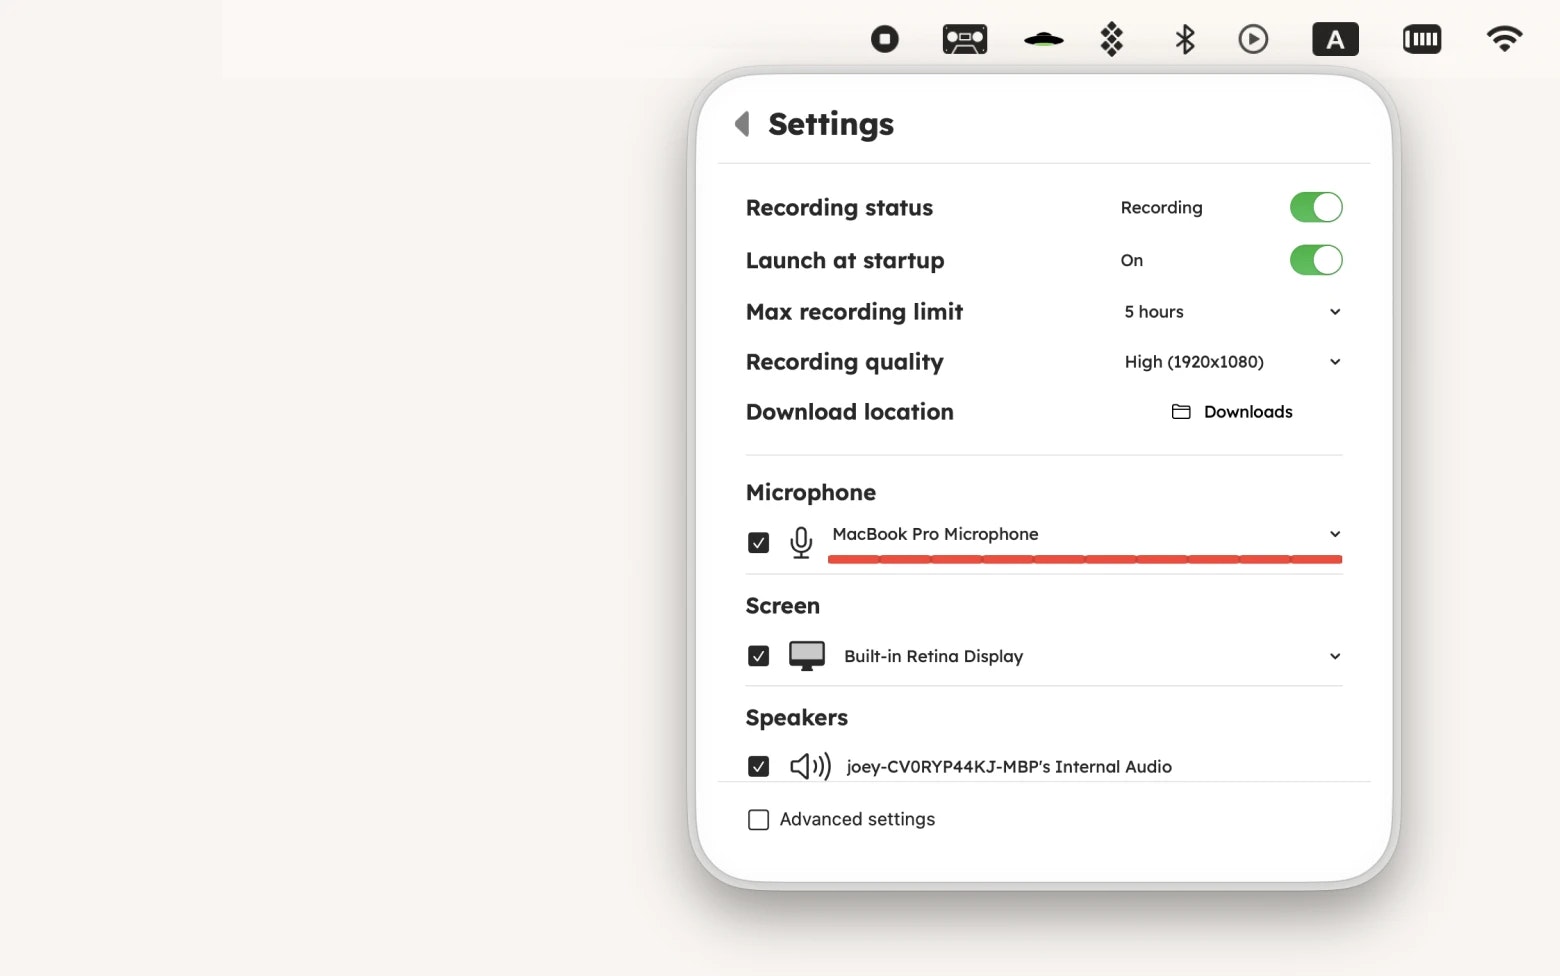
Backtrack makes it possible for you to record any of the work calls, group brainstormings, or webinars happening on the screen of your Mac — with no giveaways to other participants. Moreover, you won’t even have to press the record button: once installed, Backtrack records all of your meetings automatically – letting you decide after the fact if you want to have any of it saved.
You can go back for up to 5 hours in Backtrack recordings before they get overwritten with the new ones: simply choose how far back you’d like to go in the audio, using the menu bar icon, and the app will save the file to your desktop. (You can also Backtrack for audio-to-text transcripts and summaries of your meetings.)
Record yourself or your work on a Mac and share with pride
Making a video recording of Mac screen or camera isn’t a difficult task to master — you can easily learn how to record video on Mac with built-in QuickTime Player or Photo Booth macOS apps. It’s the ease of editing, annotations, voiceover, and sound options that make the difference when creating video recordings of different formats.
Use a universal screen recorder like Capto to record both your screen and camera, edit, add voiceover, and visual highlights in one app. If you’re mostly interested in video recording of Mac screen, try CleanShot X. Or opt for specialized apps that help you create stunning time-lapse videos with Hustl, password-protected download links for your video recordings with Dropshare, record the meetings that have already happened with Backtrack, and work on your vocal impact using Speeko app.
Learn how to record video on Mac and don’t miss a chance to try Speeko, Capto, CleanShot X, Hustl, Dropshare, and Backtrack — available for free with the seven-day trial of Setapp, a platform of best-in-class iOS and macOS productivity apps. Master video recording of Mac screen and webcam feed and check out more than 240 other options to boost your performance.


